KOMBUCHA TEA - Part One, Brewing
I posted all these photos on my Facebook site so you can copy and paste them!
How To Make Kombucha Tea ~
A work in progress!
Kombucha used to taste FABULOUS when you bought it from the store. It was like sparkling apple cider, strawberry soda or even beer. I was addicted to it! My addiction was costly, so I found out how to make it myself. Thank goodness I did. All Kombucha was recalled a few years back due to the “alcohol content.” Yes, some of the Kombucha was raising its alcohol levels by just sitting minding its own business in the fridge waiting to be purchased. That alcohol level made it an alcoholic beverage, which has special rules and taxes associated with it. So, the Kombucha brewers had to make drastic changes in their product. Many brewers closed up shop, at least I assume they did, I don’t see their product on the shelves any more. If you do find Kombucha in a store it tastes flatter and/or more vinegary. But, it by no means is any less healthy.
I hope you enjoy my Kombucha. You can always improve it if you want to!
This is my “How to” on how to make FABULOUS Kombucha Tea. Feel free to share it.
I suggest you look at all the photos first (before you read further), then read the “How to”, then read the “How to” again while looking at the photos, then START BREWING!
My number one rule is, MAKE IT FUN!
My number two rule is, REMEMBER IT’S EASY!
This stuff really isn’t that hard to make. The more you do it the faster and better you will get at it. You really can’t screw this up. If you spill half your tea, if you make a total mess, if you drop the scoby,
if . . ., if . . . , just keep going. You’ll do fine!
I did have one person break a full bottle, so had glass everywhere in his kitchen, even in the scoby. Poor guy! I gave him more Kombucha and more scobies.
I’ll be using some of these words in this write-up ~ Mother, Baby, Scoby, Pancake, Culture, Fungus. They are all names for the Kombucha culture. The Kombucha culture is shiny, beige or cream colored and round, so it looks like a rubbery “Pancake.” Every “Mother” makes a “Baby” with every new batch of Kombucha you brew. If you leave the Mother and Baby in the jar, they will grow fatter. “Scoby” is an acronym for “Symbiotic Culture of Bacteria and Yeasts”
~ I “borrowed” information from the Internet to create this write-up. Feel free to Google “Kombucha” for more information. There are many sites with a multitude of fabulous data! If you have questions or disagree with anything I’ve written you can contact me or go to Google and find out more.
Please Facebook message us at www.facebook.com/themudpuddleshared or e-mail us at [email protected] .
“For reasons of their serious negative effects in the human system, nutritionists increasingly recommend against the use of black and green teas and of refined sugar in any diet. However, all research with Kombucha indicates that the refined sugar and tea, specifically with high purine content (purine includes caffeine, Kombucha needs the caffeine), provide the nutrients and the surroundings required by the ‘fungus’ for its most beneficial action.“
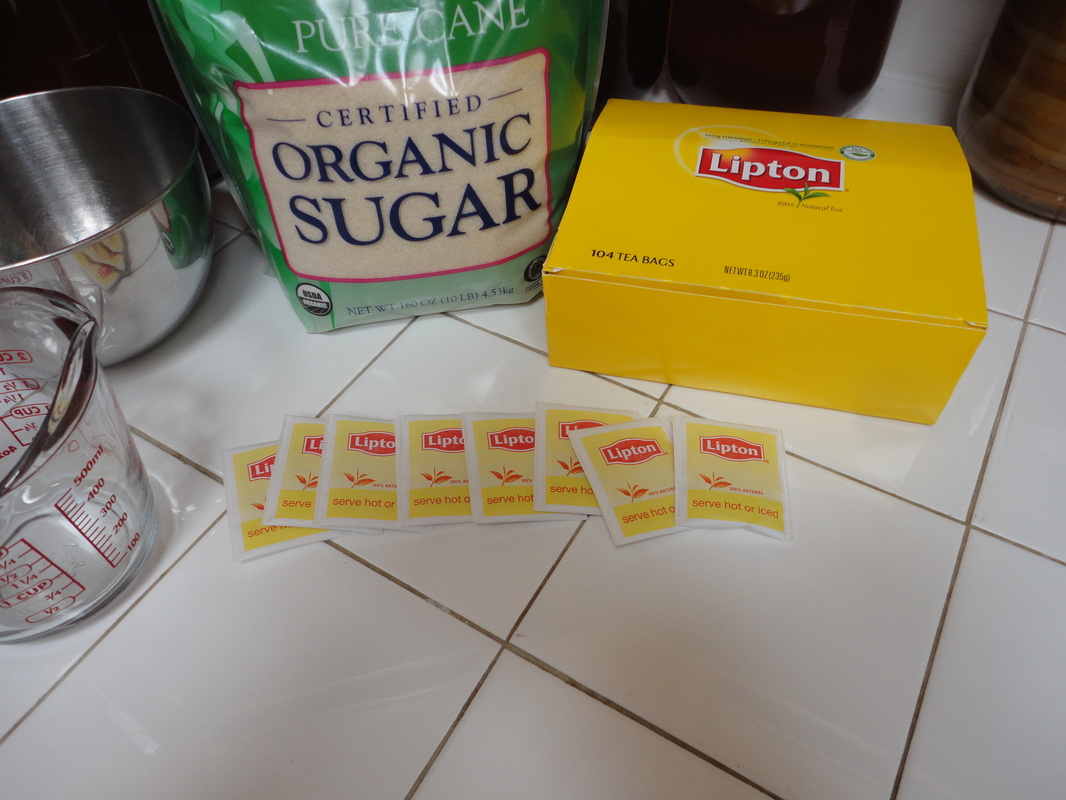
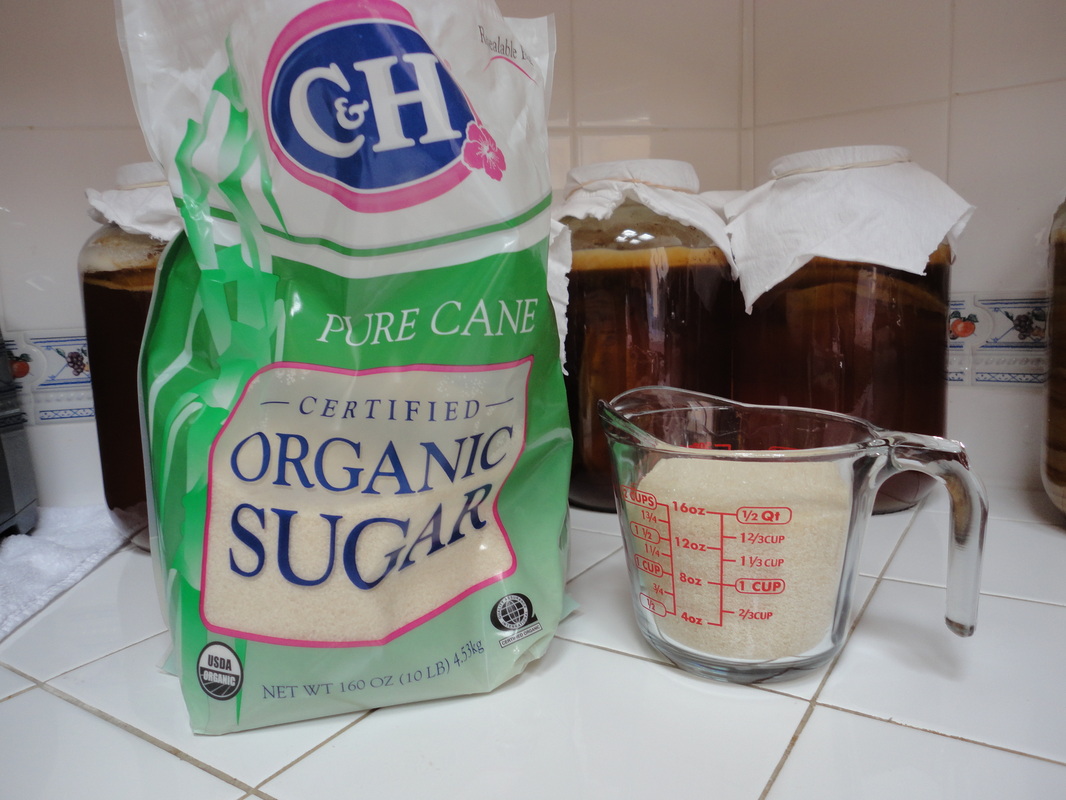
So, basically use regular sugar and regular caffeinated tea. It’s what the Culture NEEDS to do its natural thing. Don’t use agave, honey or other sugar substitutes. The sugar can be organic, but I get way better results with refined sugar. I tried organic black tea, but the scobies grew wimpy and thin. When I use regular Lipton black tea bags my scobies get very fat and happy and make fat and happy babies.
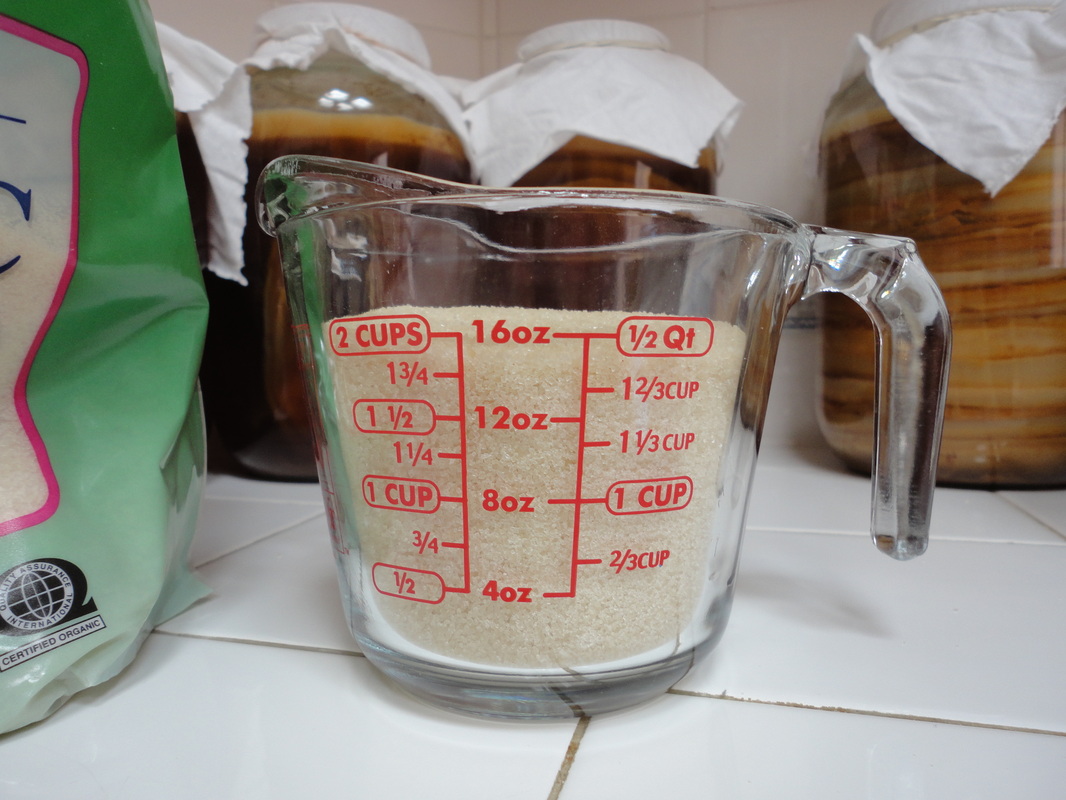
I buy C & H sugar and Lipton tea bulk from Costco. They do have Organic C & H sugar there as well. The Organic sugar is shown in my photos. I’m changing back to regular sugar when I run out of this bag. I pour the sugar into gallon Zip-Loc bags, keep them clear of anything that could poke holes in them and store them in the cupboard. I might graduate to a plastic container with a lid, but so far so good, no holes!
Equipment & Ingredients
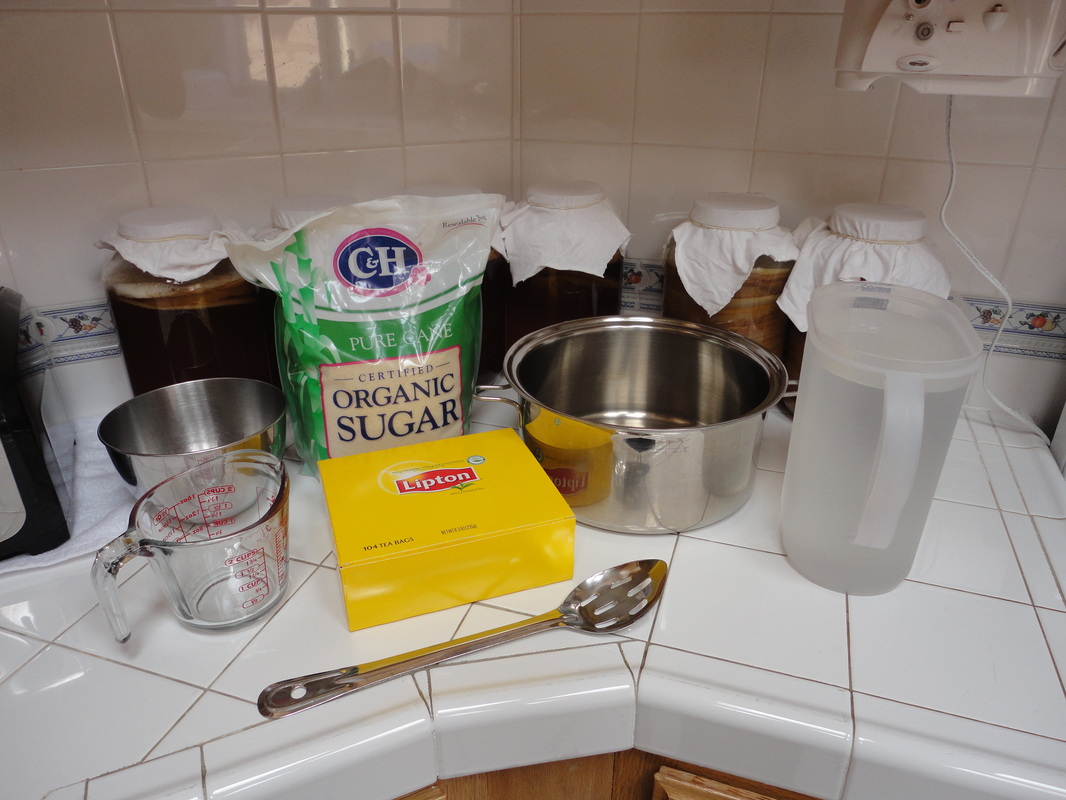
Equipment you will need to ferment the tea ~
FYI – Glass cookware and glass measuring cups that can be microwaved have chemicals and metals in them to prevent them from cracking under severe heat. These can leak into food. These WILL leak into Kombucha or rather Kombucha will SUCK out those toxins. Kombucha acts like vinegar and honey. They suck up any toxins or chemicals from whatever it is stored in, including plastics. It has to be stored in a glass container that was never meant to be heated.Ingredients you will need ~
- stainless steel pot with lid
- timer
- metal bowl
- measuring glass
- serving spoon with holes in it
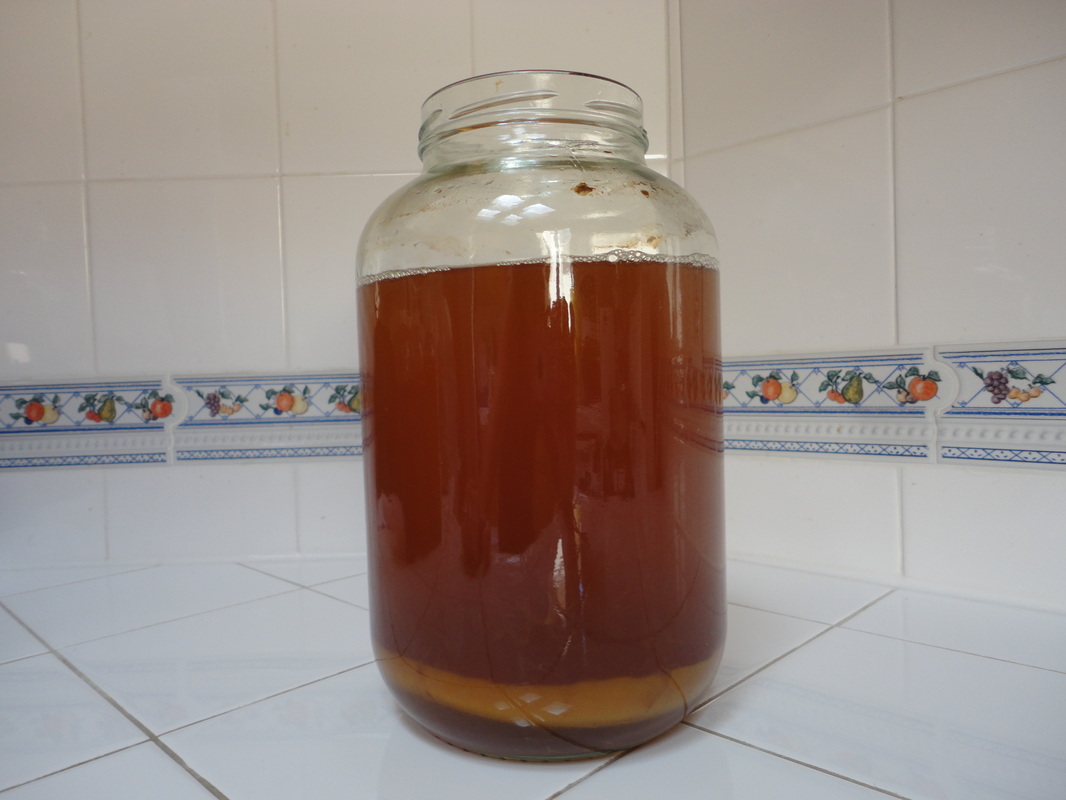
- regular cold (not for cooking) glass container, one gallon pickle jar is best
- cotton cloth to cover the jar, no weave big enough for bugs to get inside (I use an old cut up t-shirt)
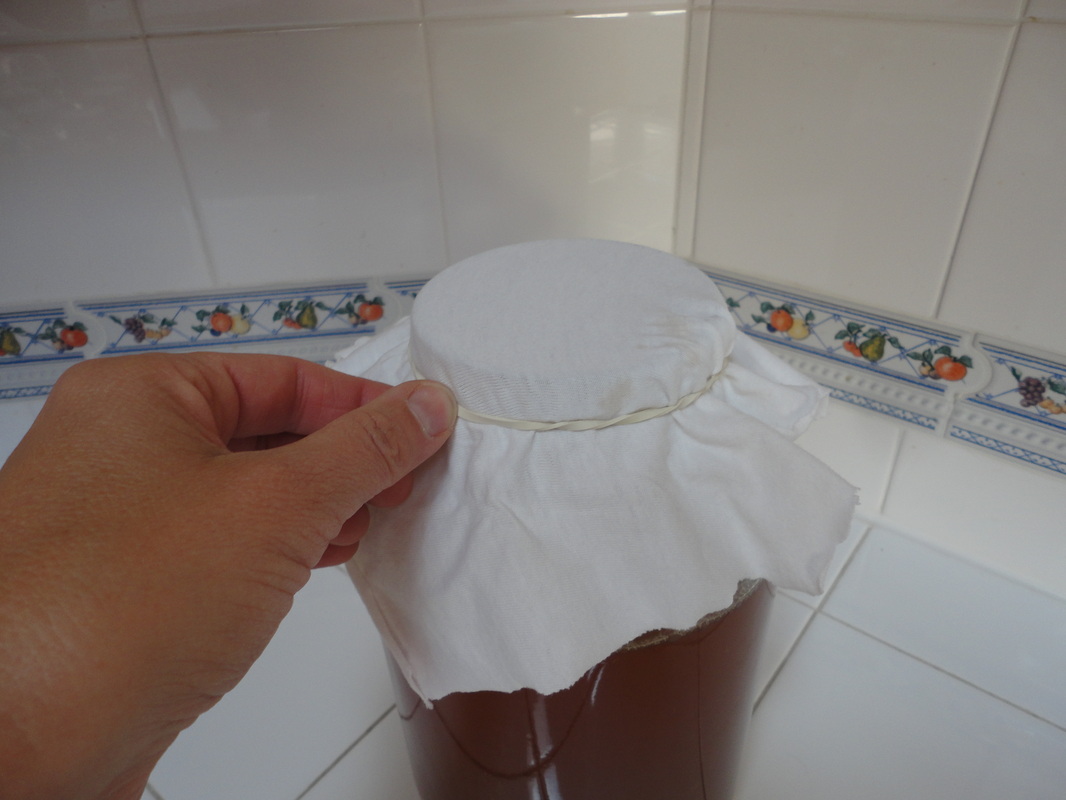
- fat and sturdy rubber band that will fit around top of jar to hold cloth on and keep bugs out
FYI – Glass cookware and glass measuring cups that can be microwaved have chemicals and metals in them to prevent them from cracking under severe heat. These can leak into food. These WILL leak into Kombucha or rather Kombucha will SUCK out those toxins. Kombucha acts like vinegar and honey. They suck up any toxins or chemicals from whatever it is stored in, including plastics. It has to be stored in a glass container that was never meant to be heated.Ingredients you will need ~
- One Kombucha scoby
- 1 gallon distilled, spring, or reverse osmosis water), NEVER use tap water!
- 1 & 1/2 cups (12 oz) Kombucha tea from last batch, give or take some
- 2 to 3 cups refined sugar (start low, 3 cups is really cheek pucker sweet!)
- 8 Lipton tea bags (can use 6, but 8 is better)
Brewing
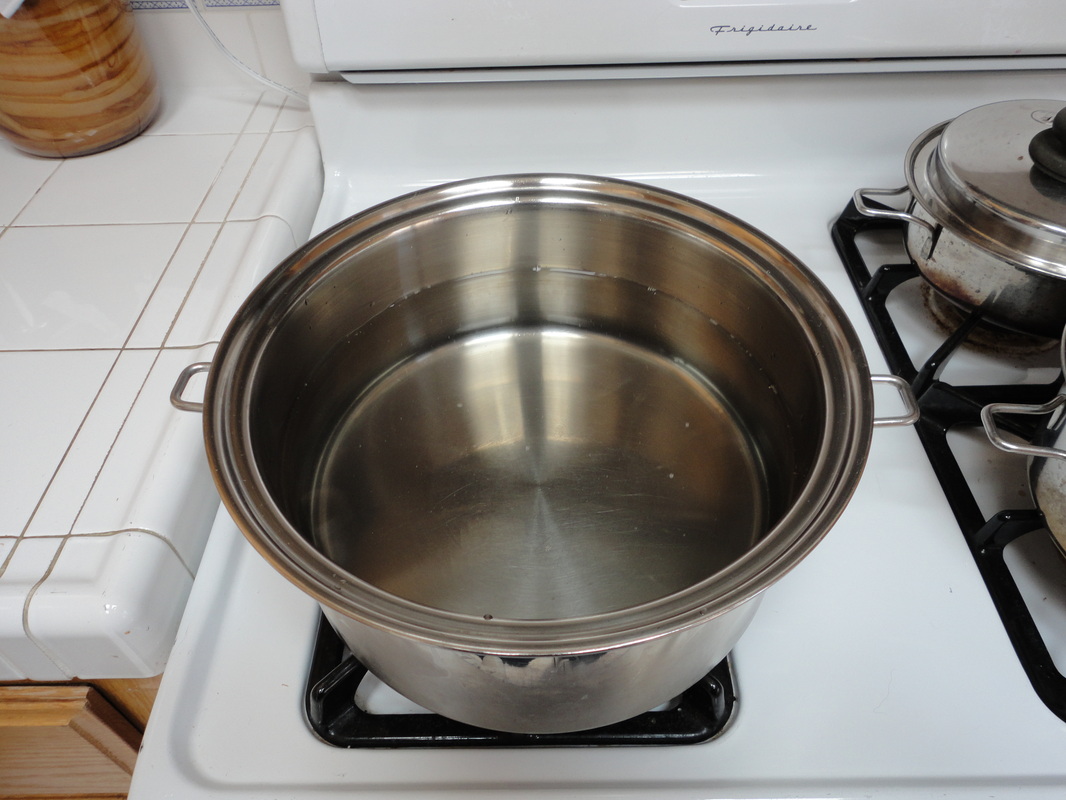
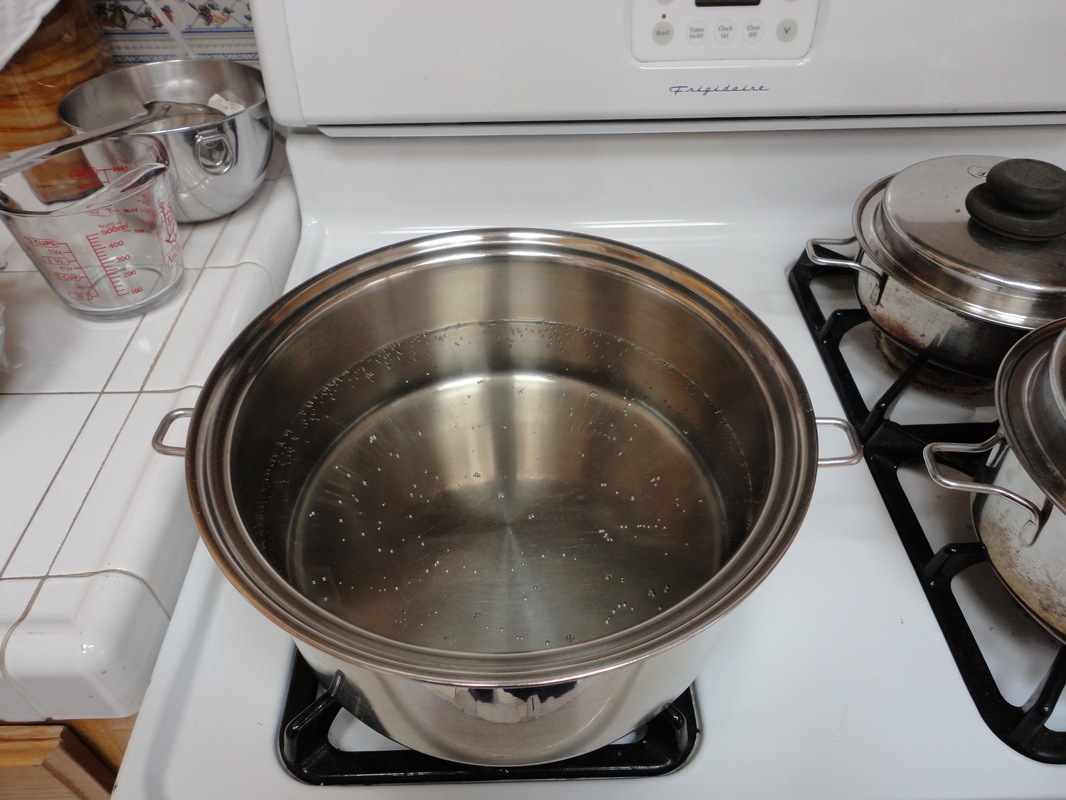
Start 4 cups water heating
If you do not bring the water to a boil, the Kombucha tea is considered RAW FOOD!
The sugar will still melt. You will just have to stir longer.
The tea will still steep.
Life is good!
If you do not bring the water to a boil, the Kombucha tea is considered RAW FOOD!
The sugar will still melt. You will just have to stir longer.
The tea will still steep.
Life is good!
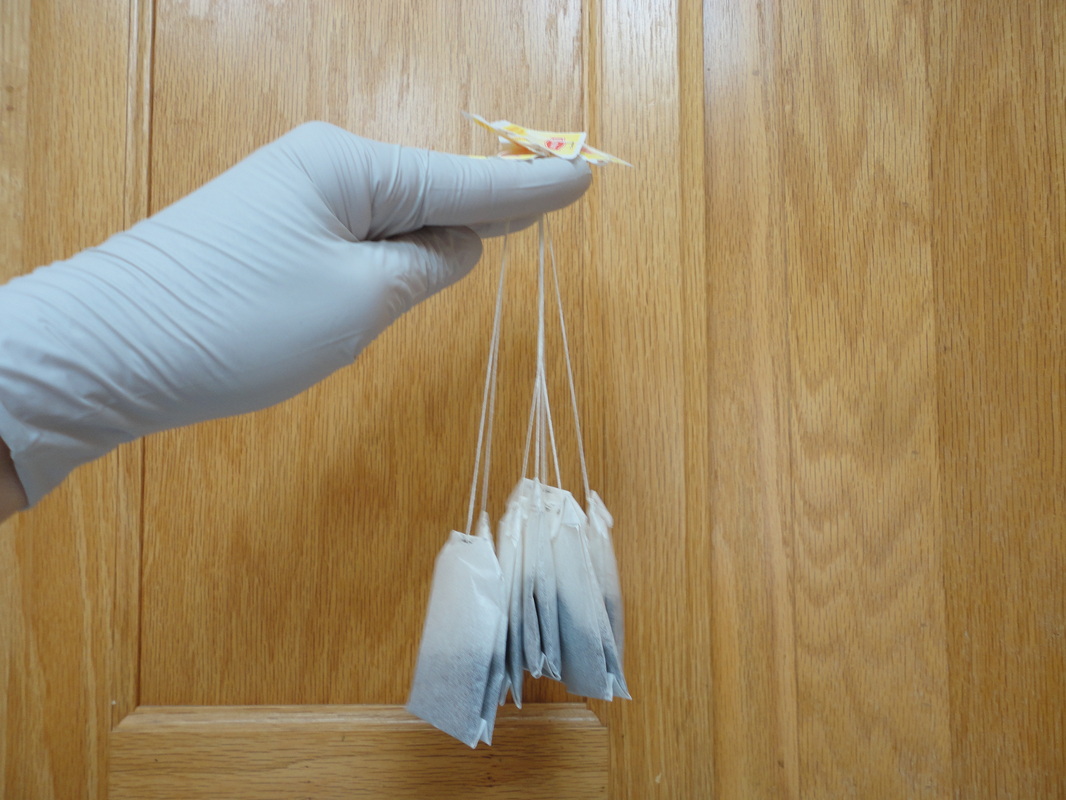
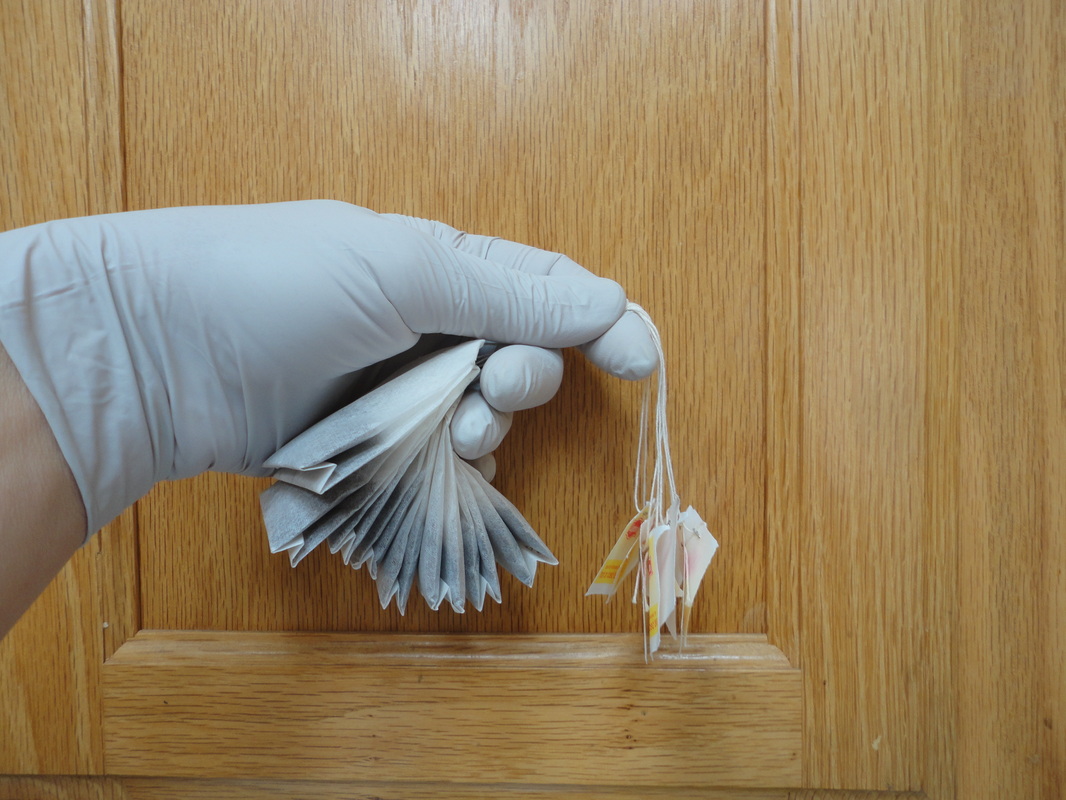
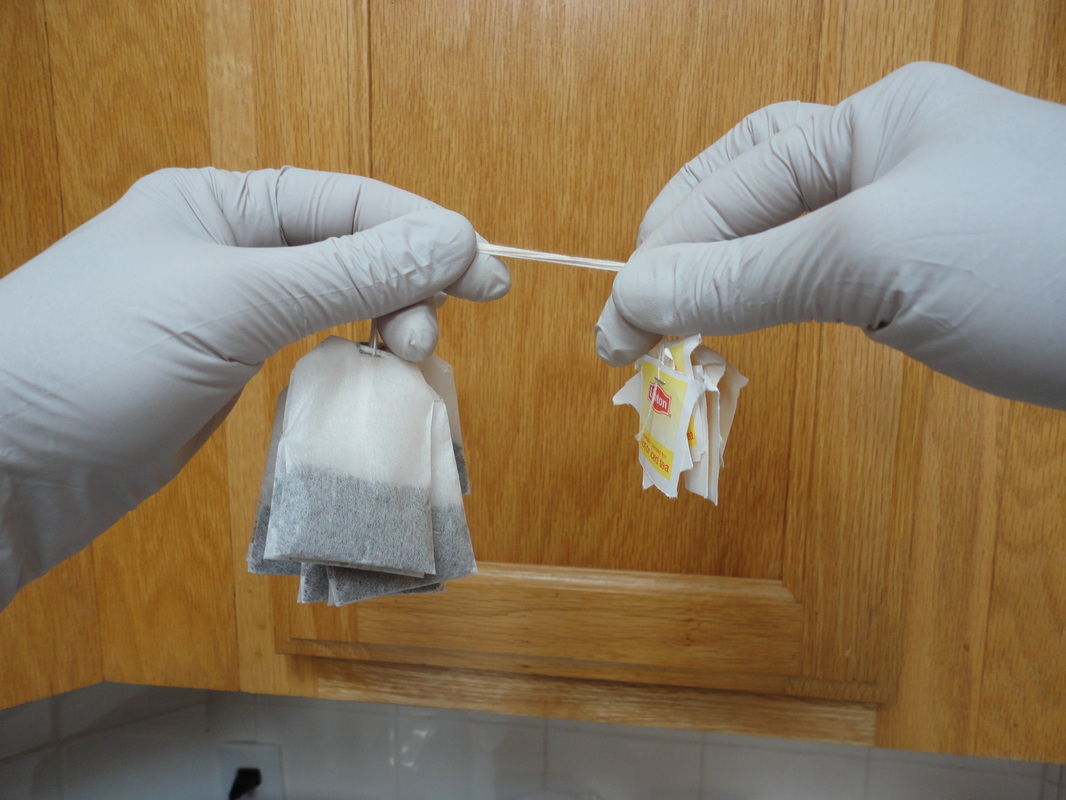
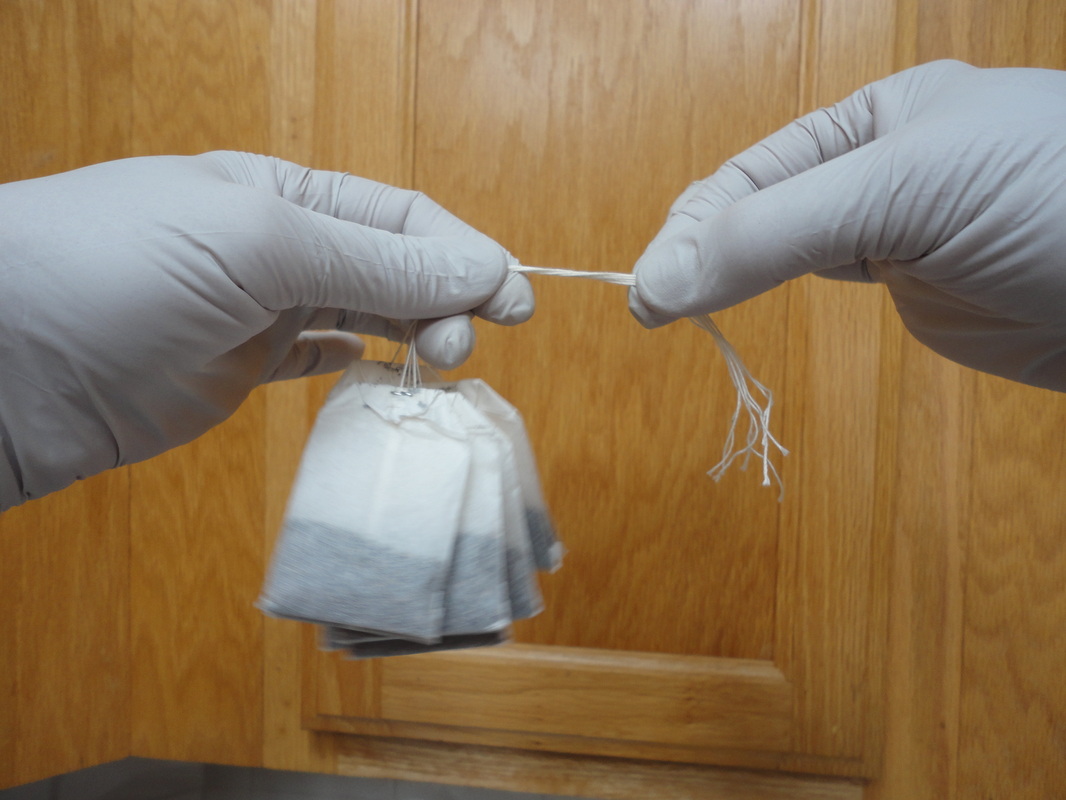
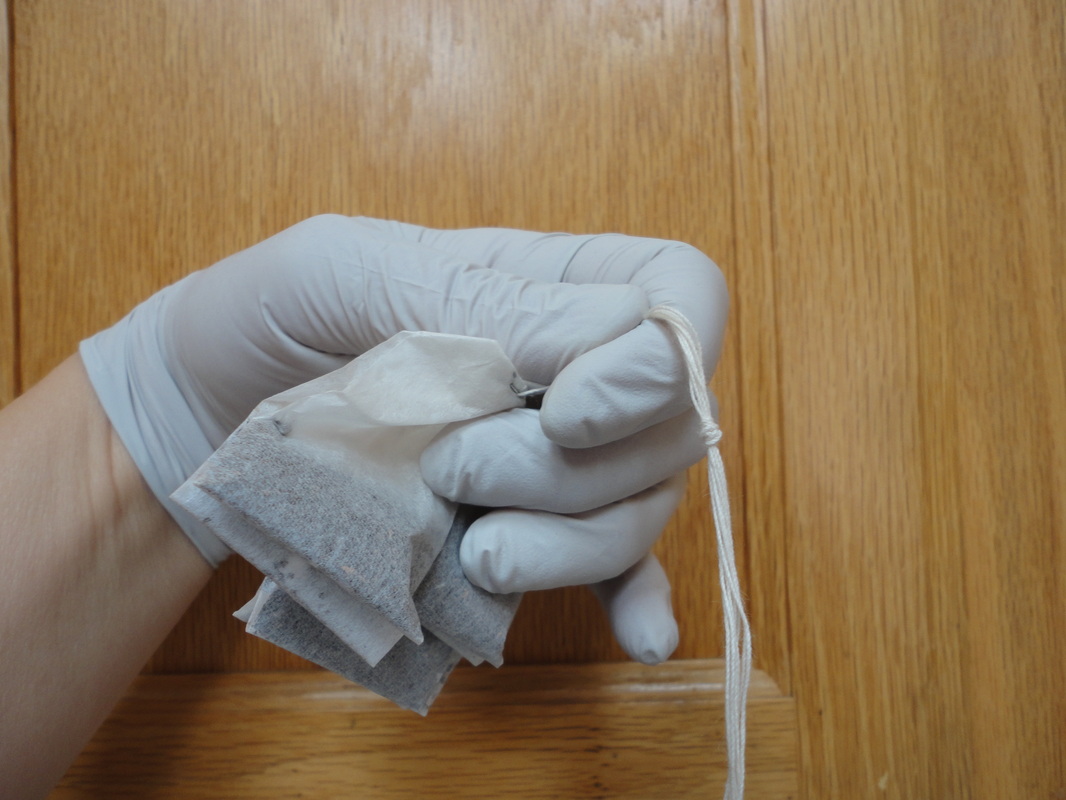
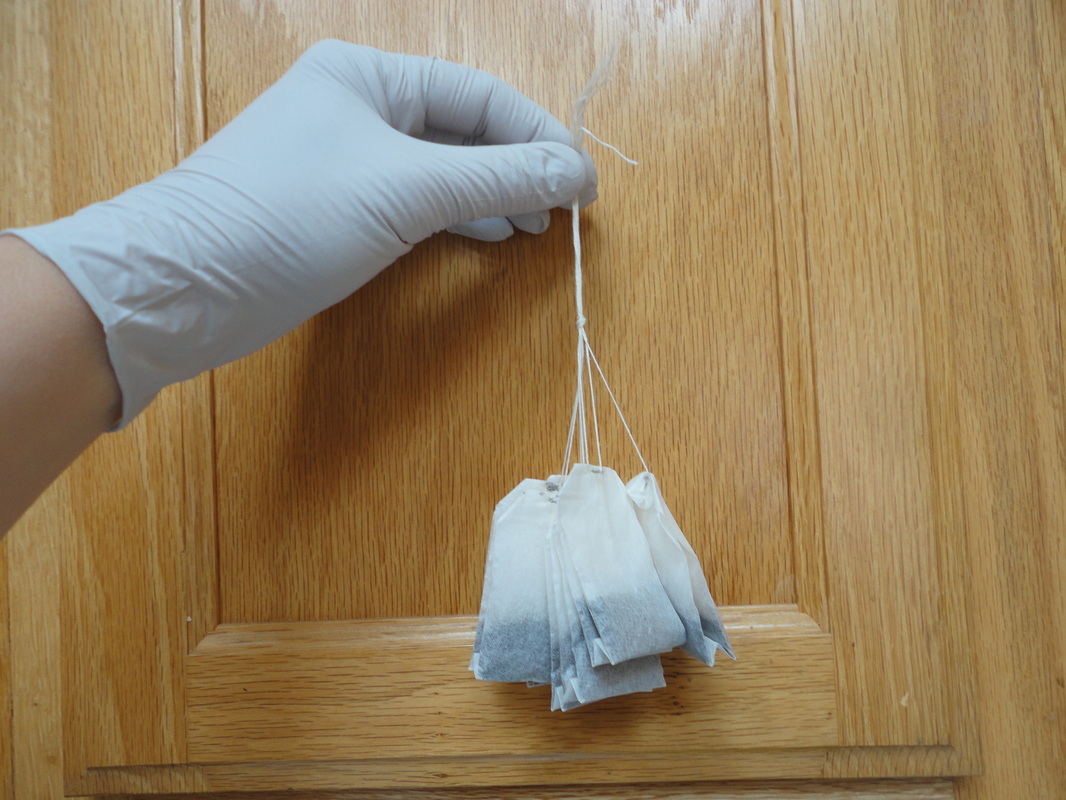
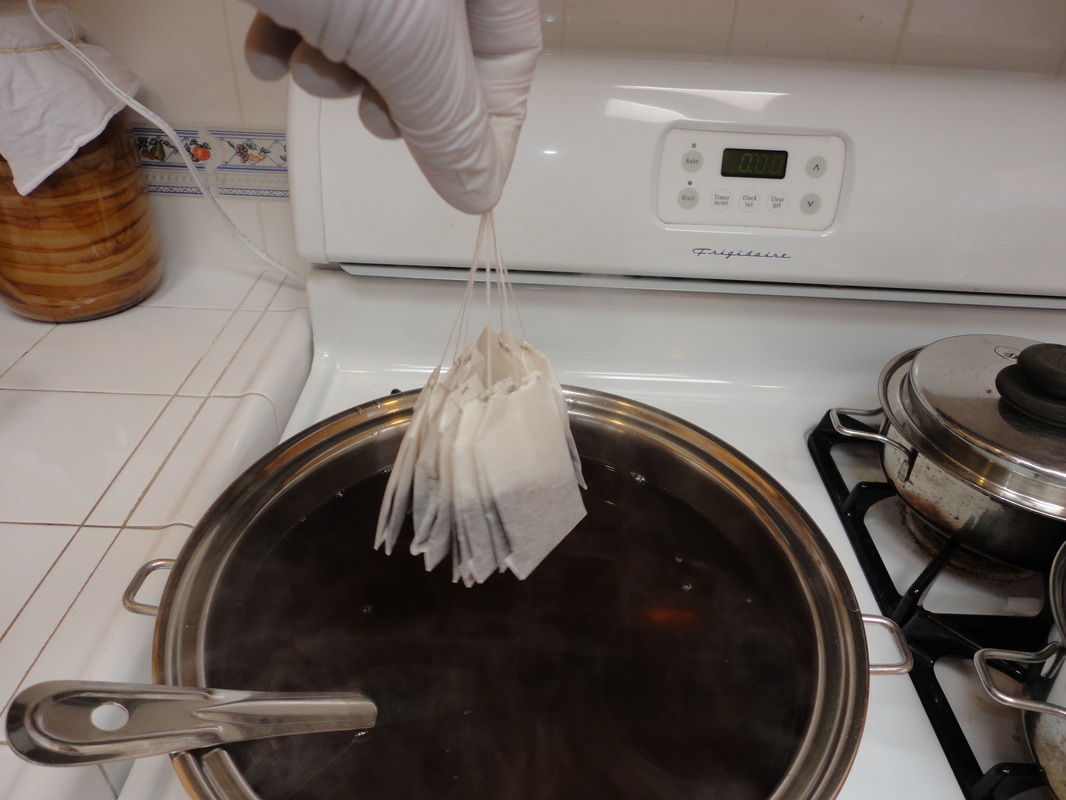
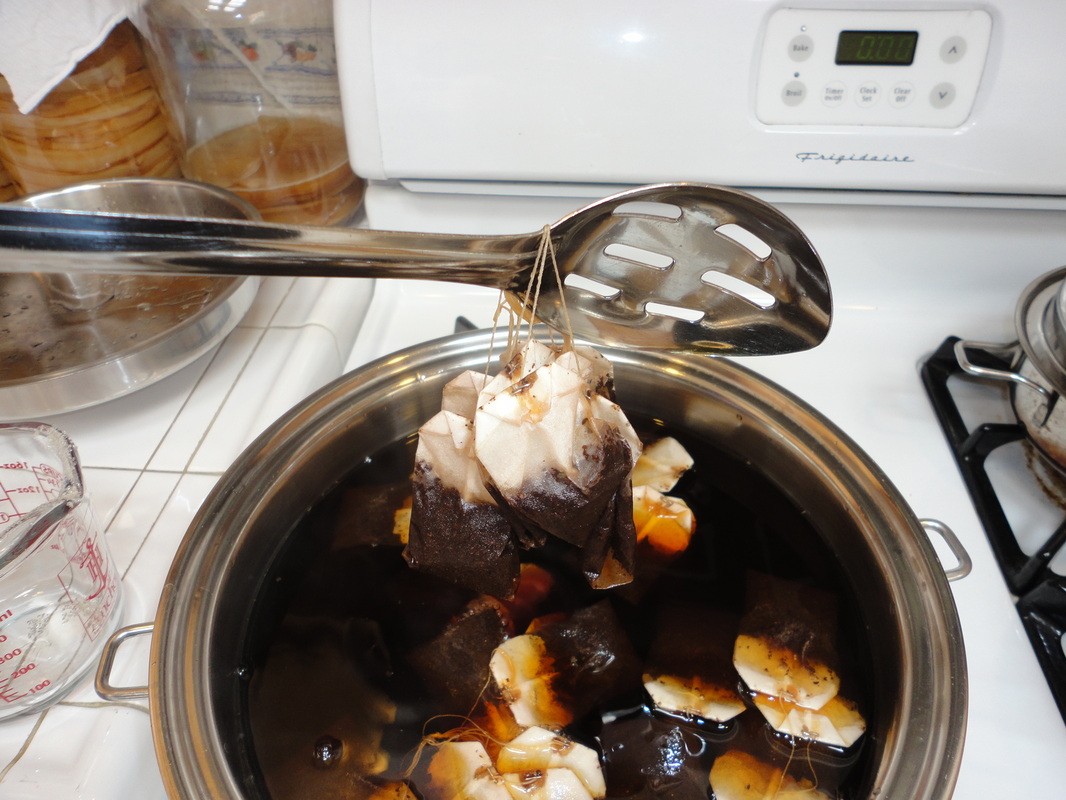
Get tea bags ready - pull the papers and staples off the ends, tie all 8 string ends together (this makes it easier to take out of the water later)
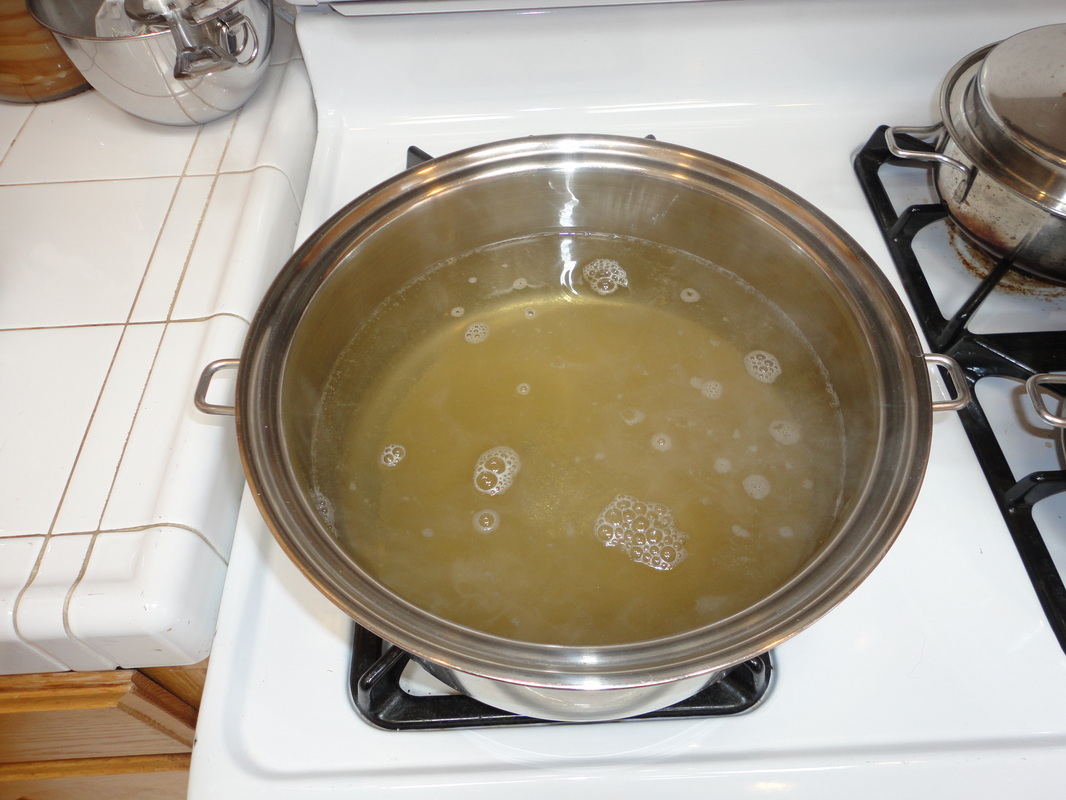
Right before the water boils, add the sugar, stir until dissolved (If you are using organic sugar it might turn the water brown from the natural molasses in the sugar. This is ok)
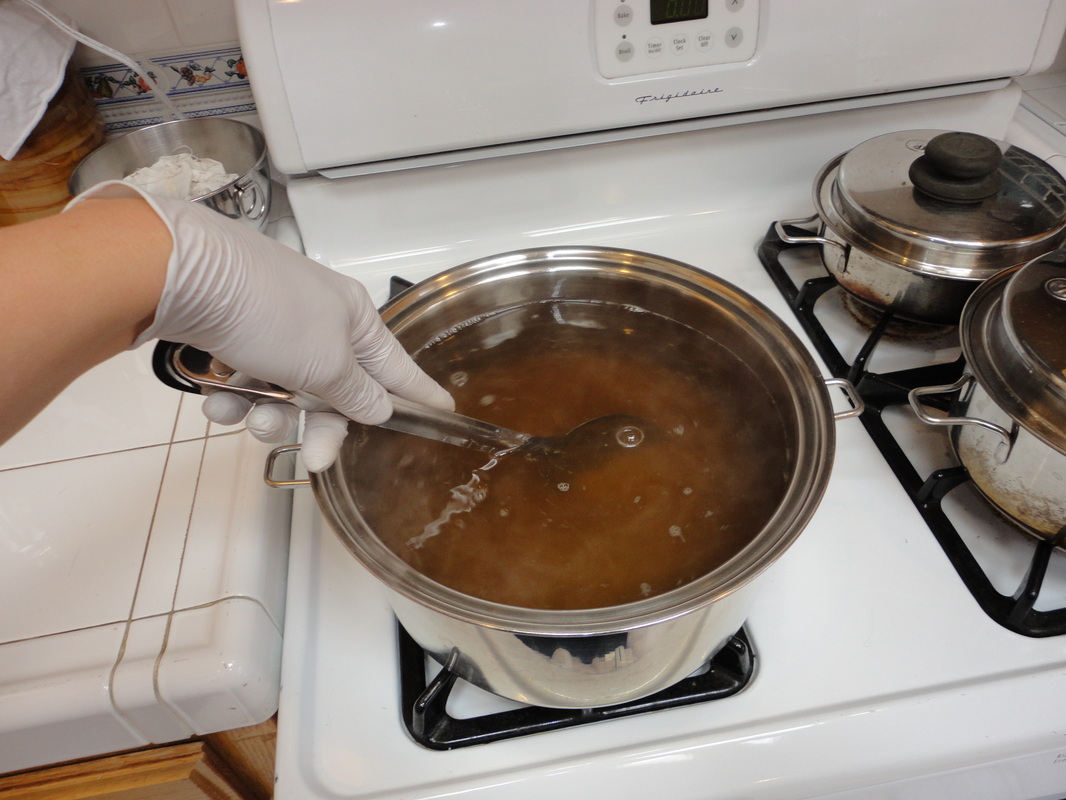
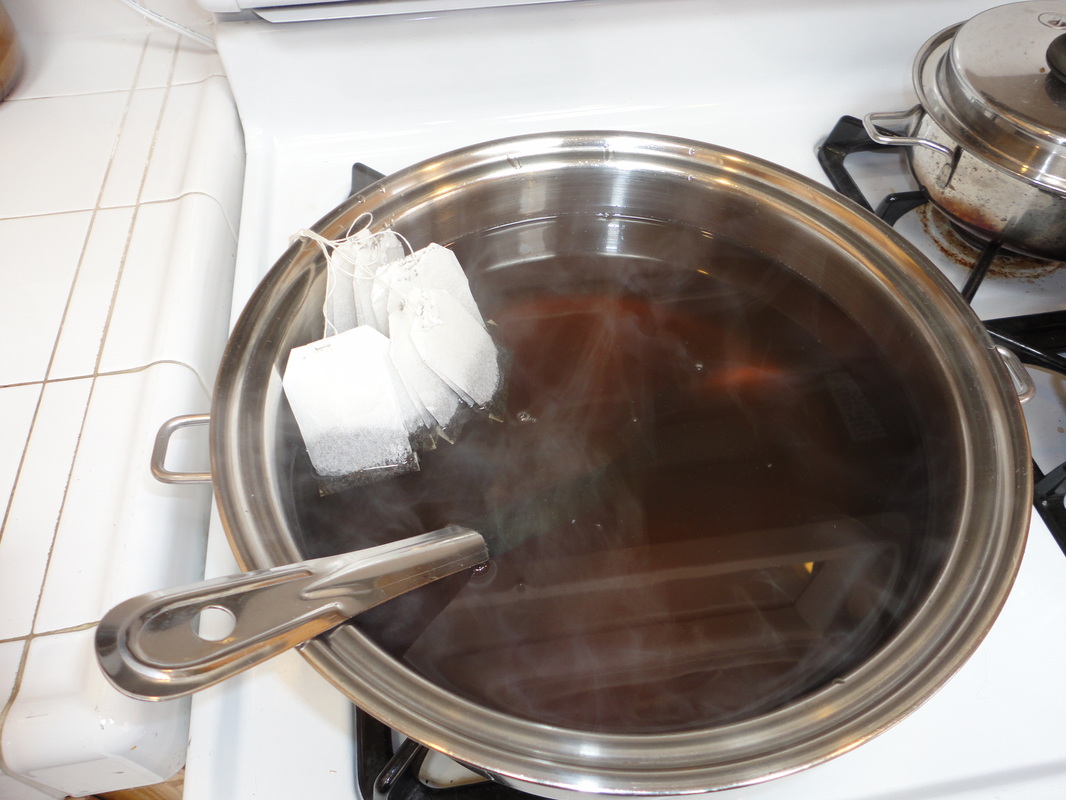
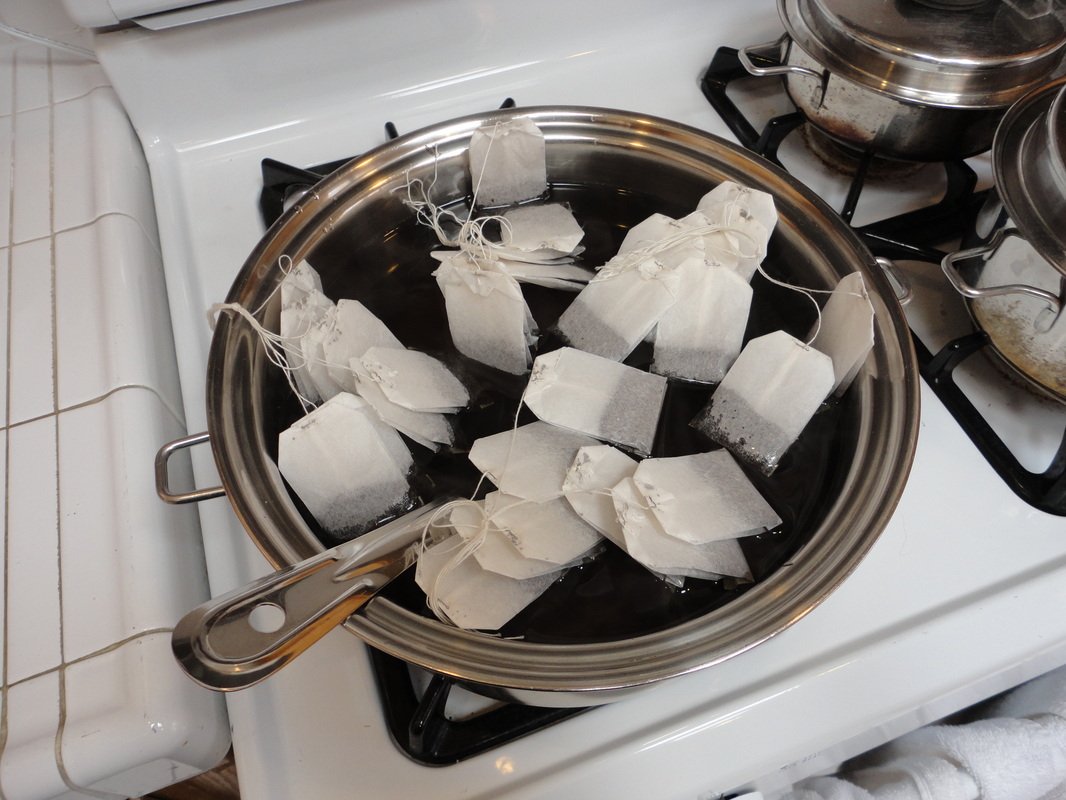
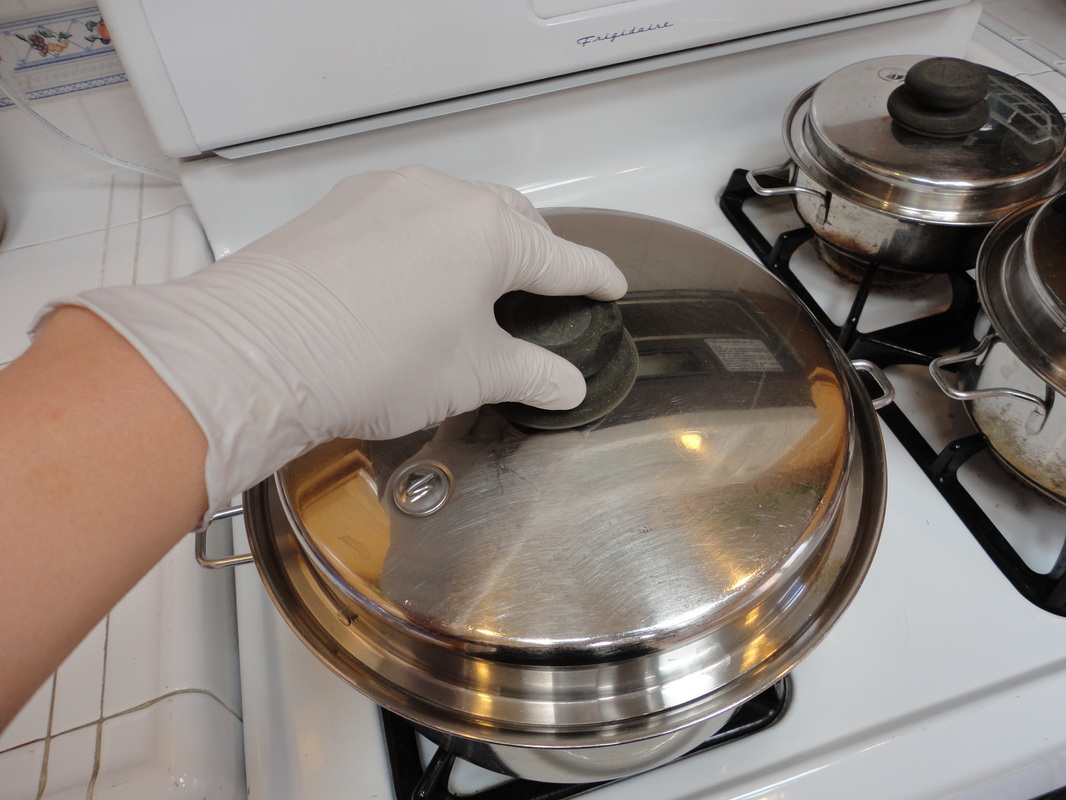
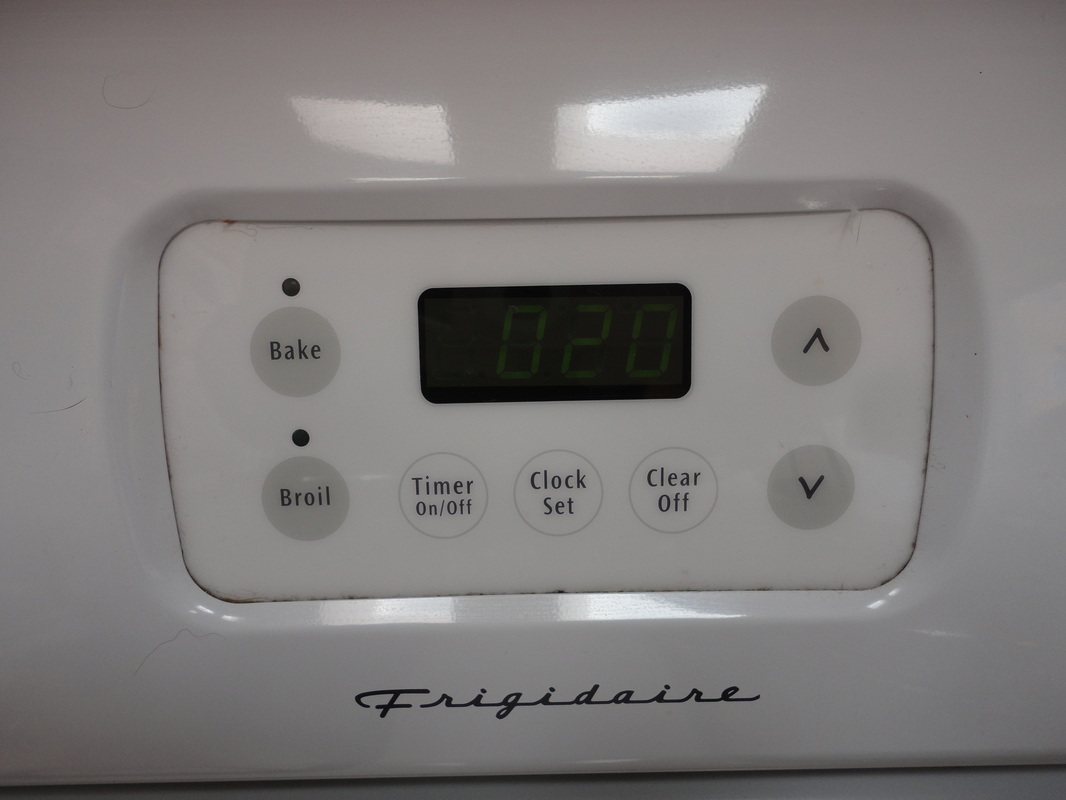
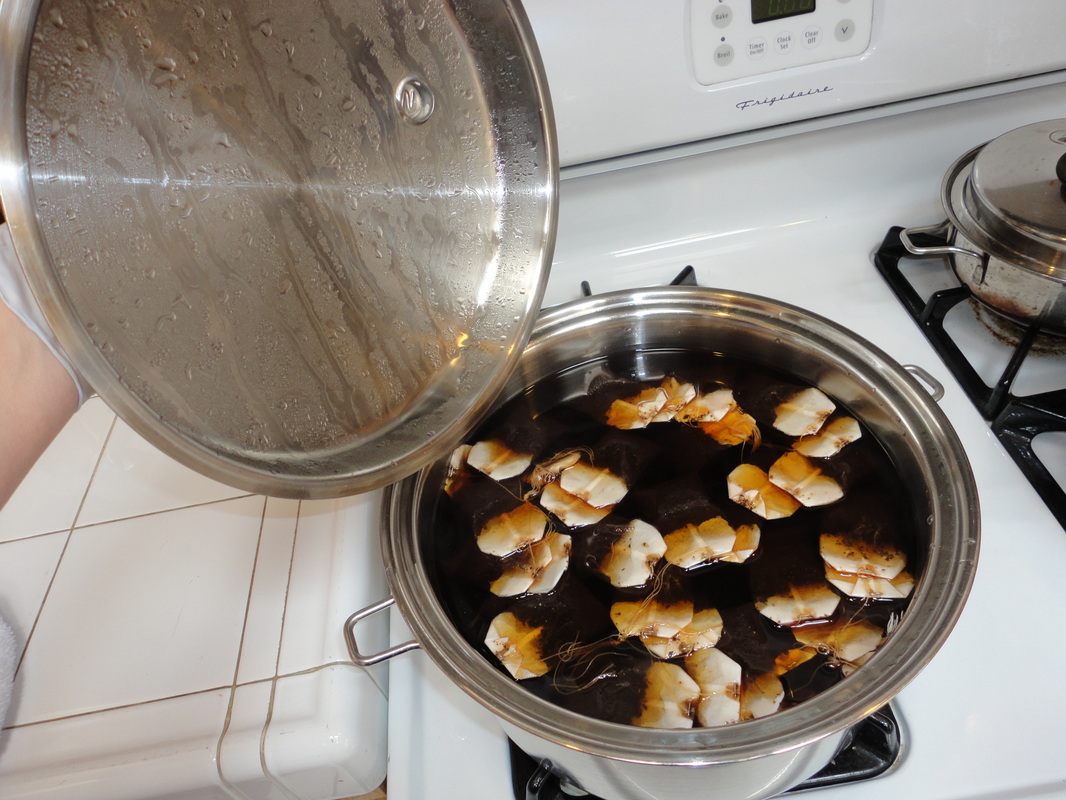
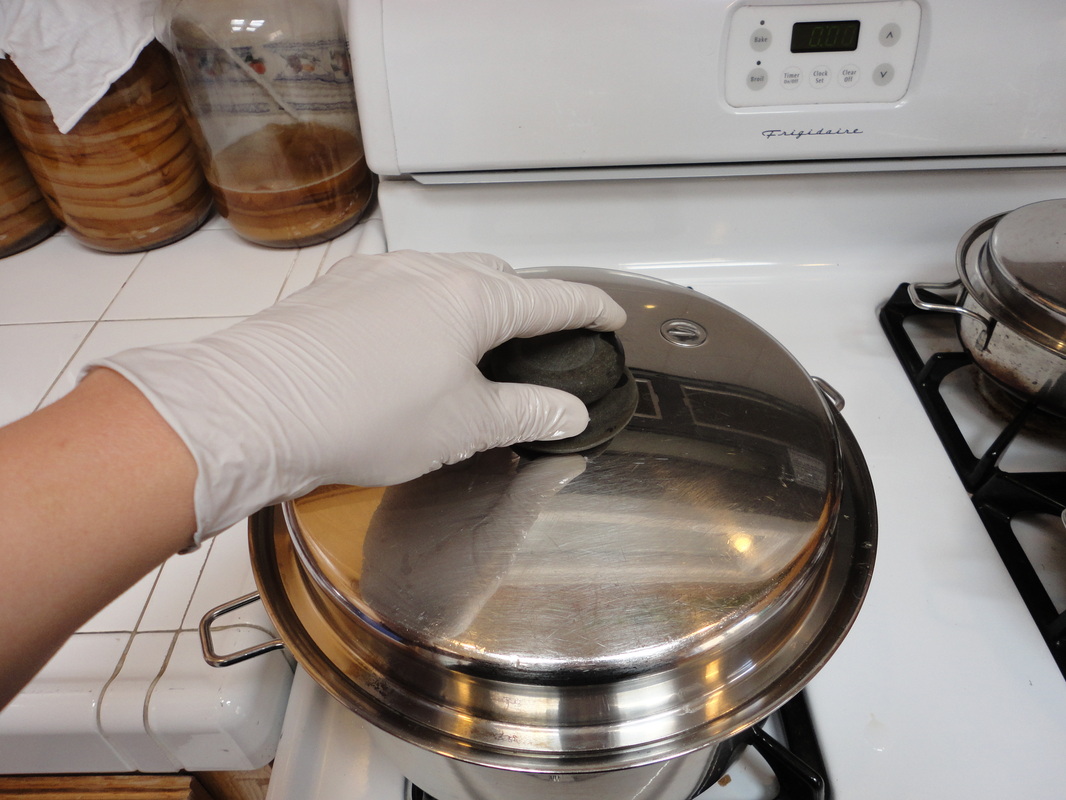
When the water boils, turn off the heat, add the tea bags, press bags into water until wet, cover, let the tea steep for 20 minutes.
~ “Some recipes call for steeping for less time. This will result in less caffeine; we do not know in what other ways this may affect the value of the final product. One variation which aims to produce lower caffeine tea calls for soaking the tea overnight in cold water in place of steeping in hot water.” Remember, caffeine and sugar are the two KEY elements in the tea, so it’s best to just make it the normal way and get over yourself!
~ If you are a strict raw foodist you don’t have to boil the water, heat it enough to melt the sugar.
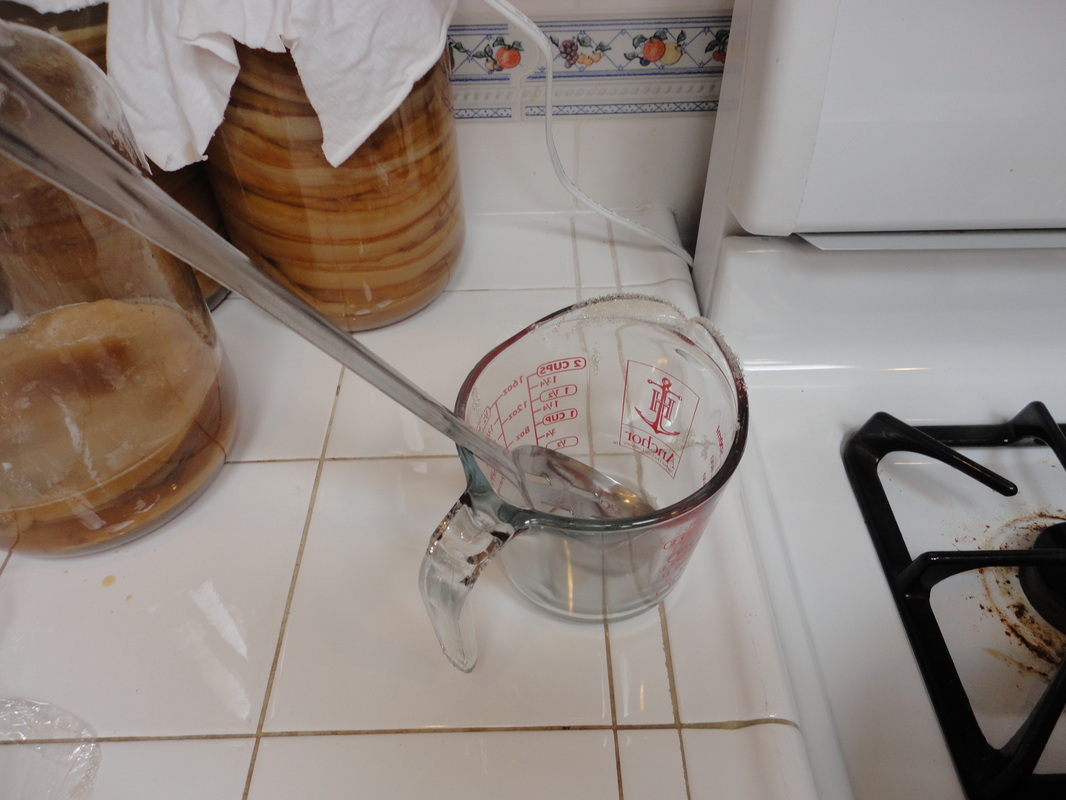
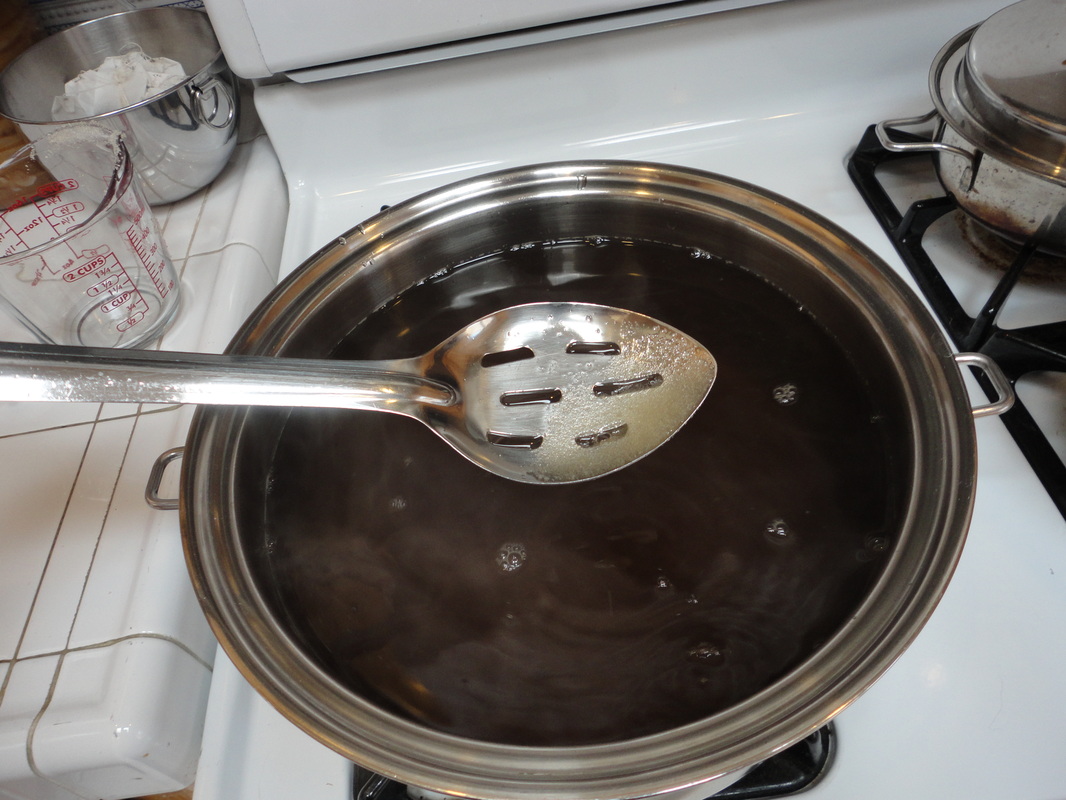
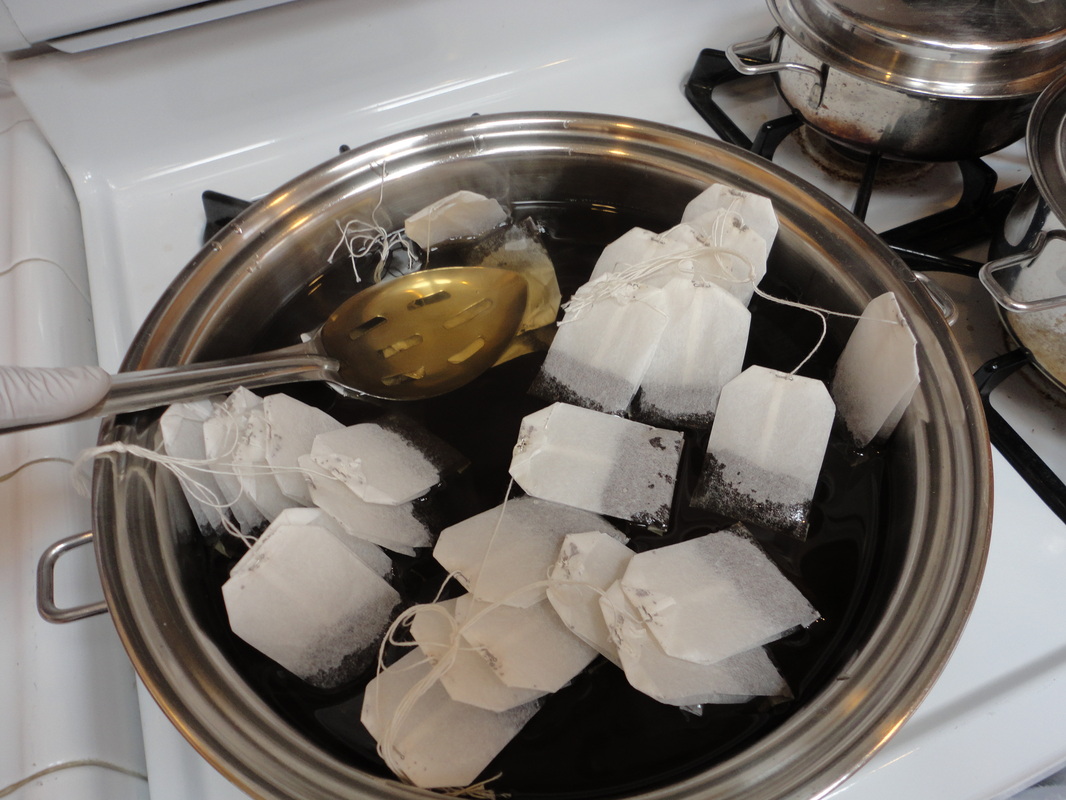
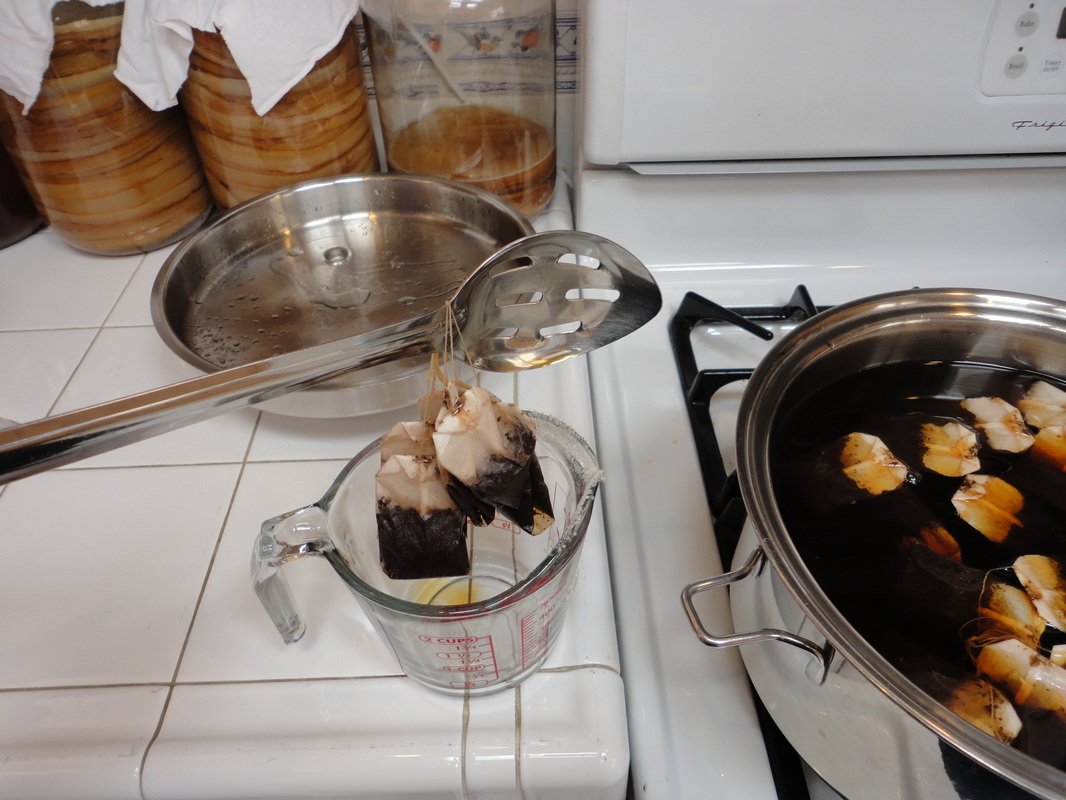
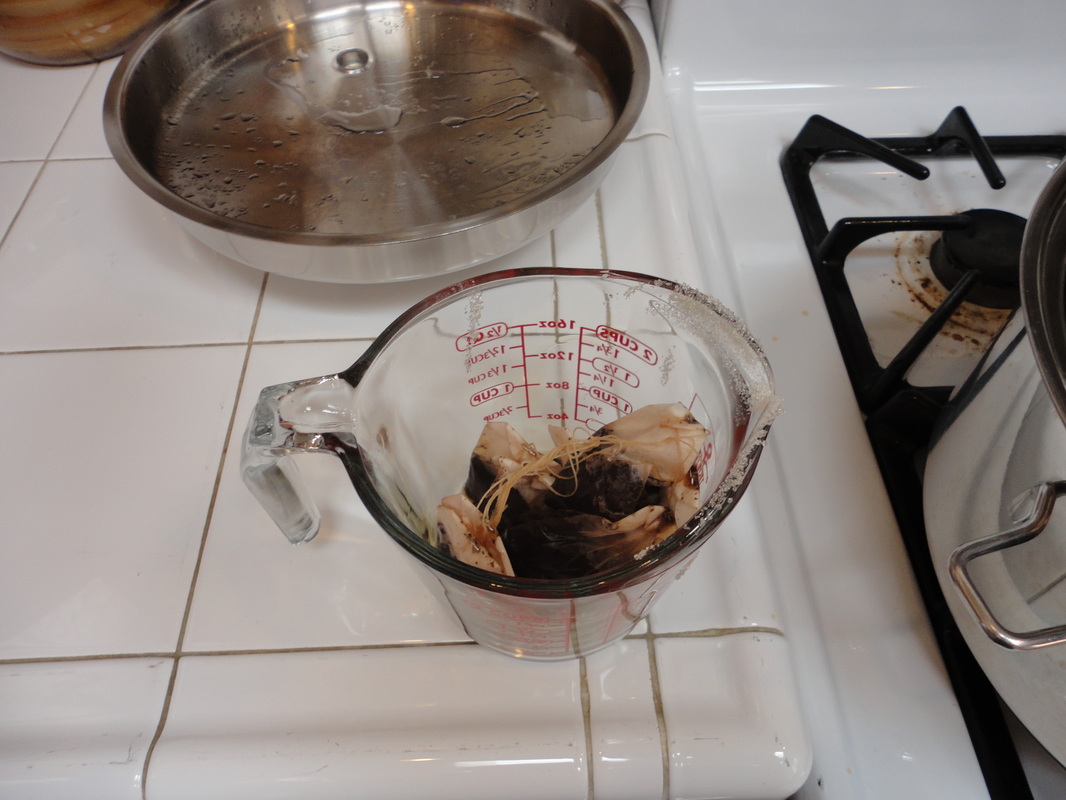
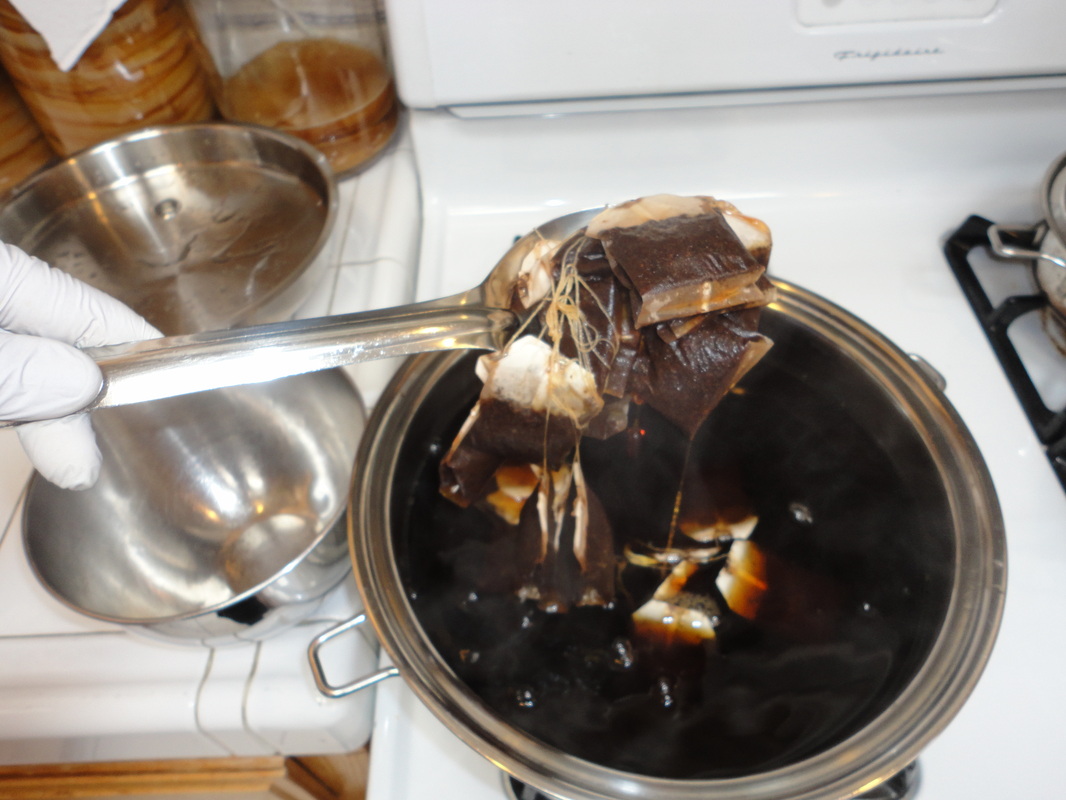
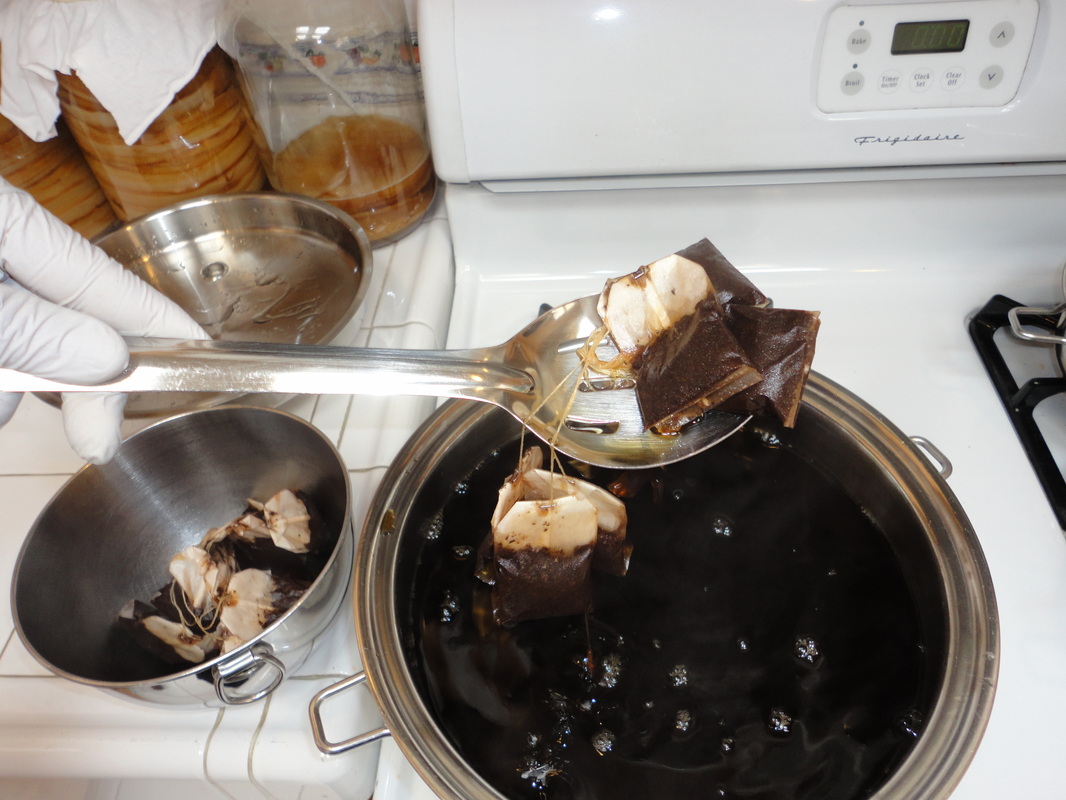
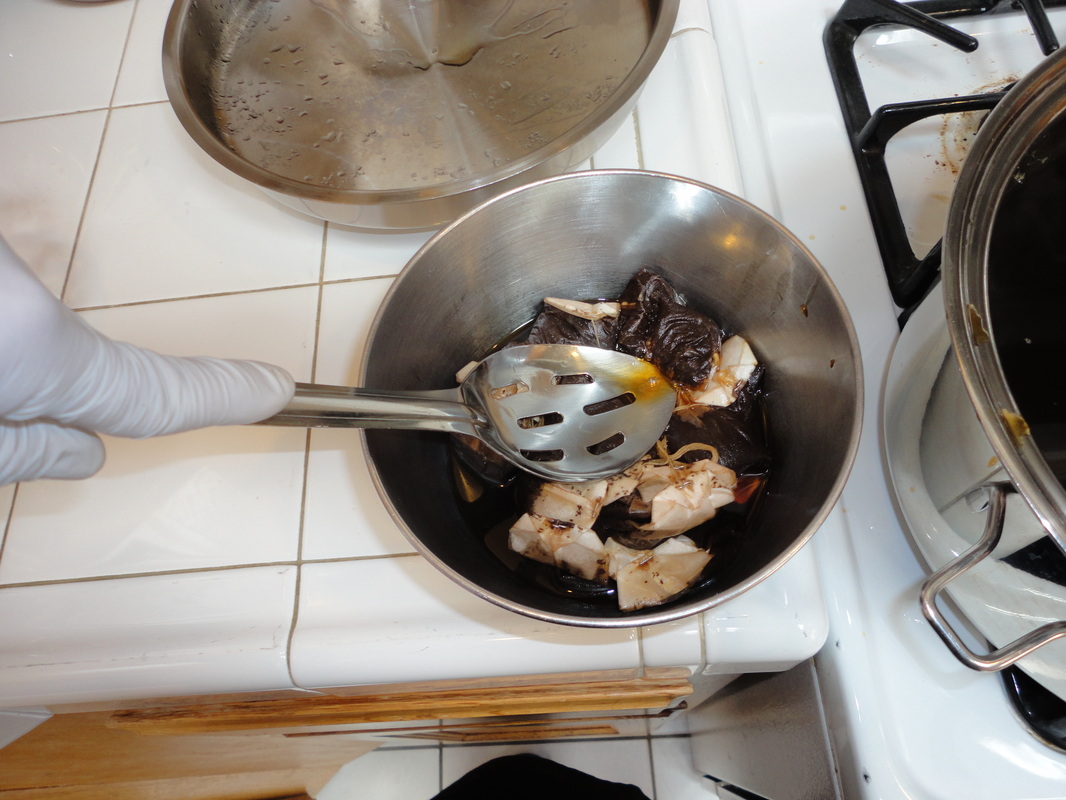
Use serving spoon to lift tea bags out of pot, put tea bags in measuring cup if you are making one batch. If you are making more than one batch you’ll have to use a metal bowl for all your tea bags.
If you are making more than one batch you’ll have to use a metal bowl for all your tea bags.
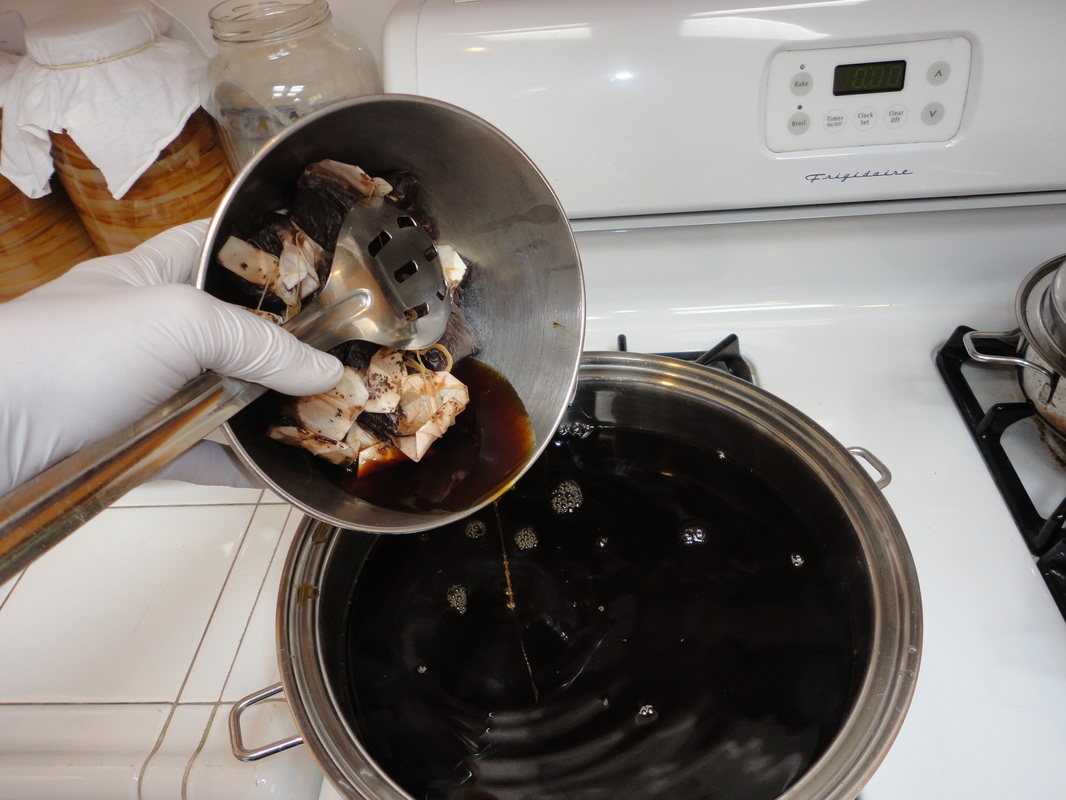
Squeeze/squish tea bags against side of glass or bowl
Drain extra tea back into pot and trash tea bags
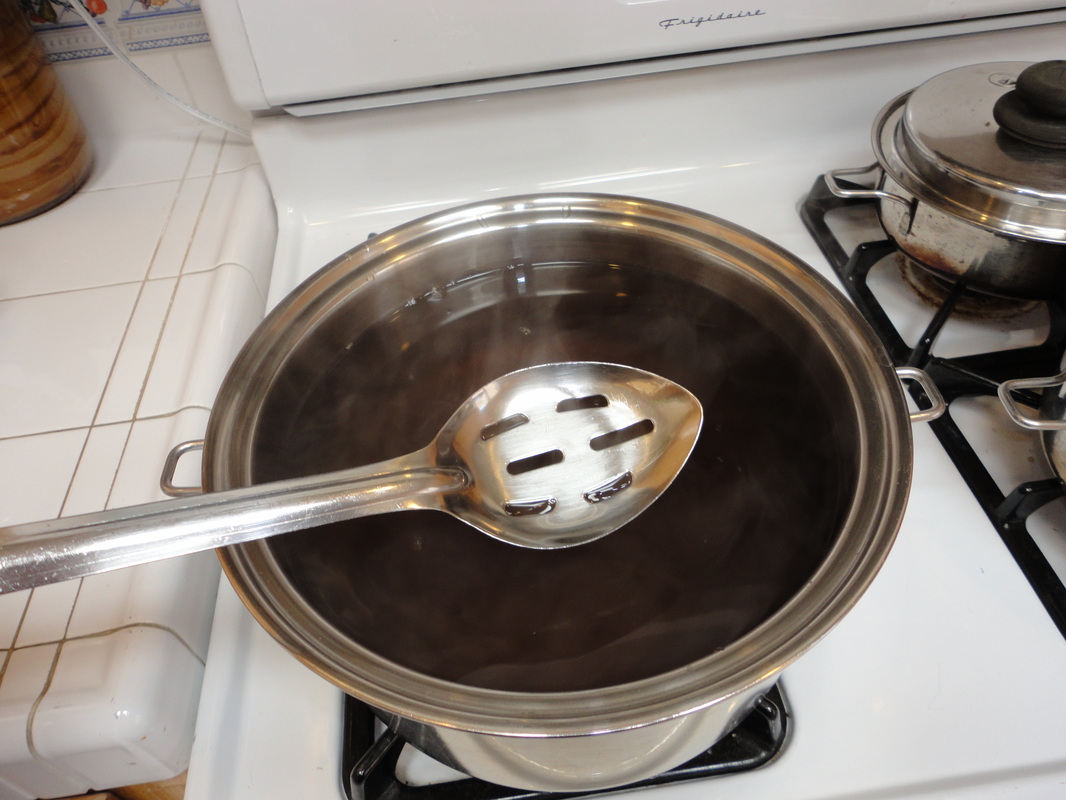
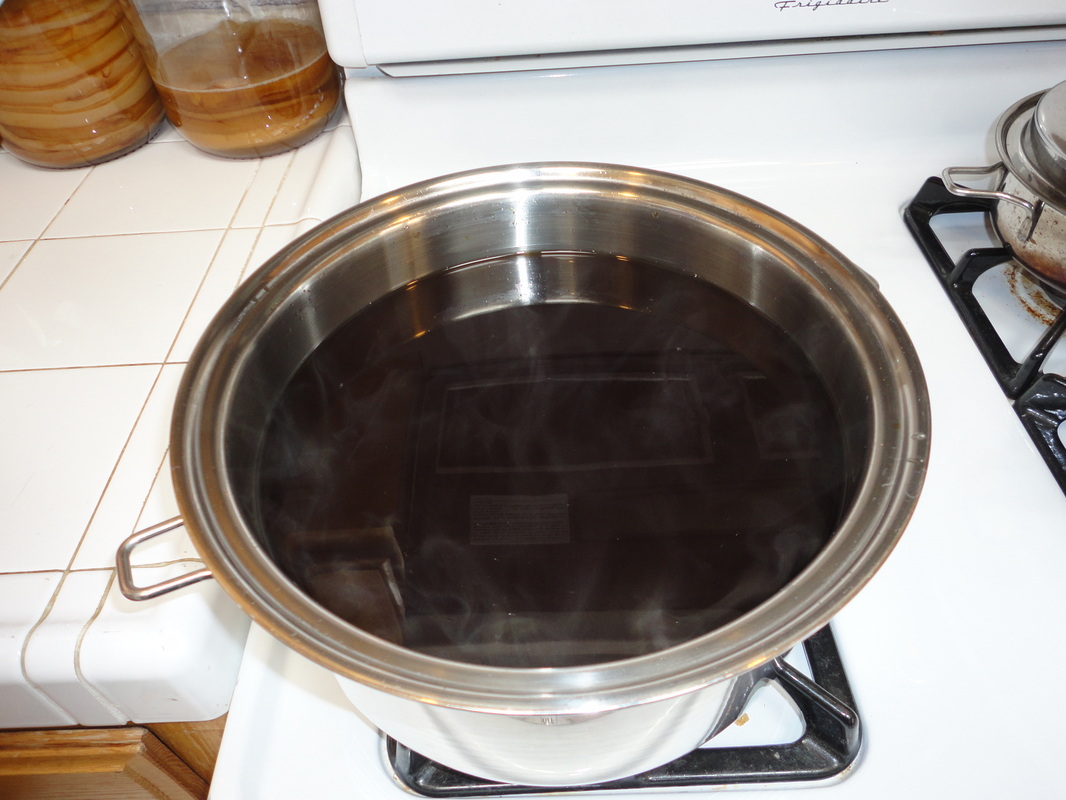
Cover pot and let cool. DO NOT PUT SCOBY INTO HOT TEA! See below ** if you are in a hurry.
Pour tea/sugar water into a pitcher (makes it easier to pour into jar)
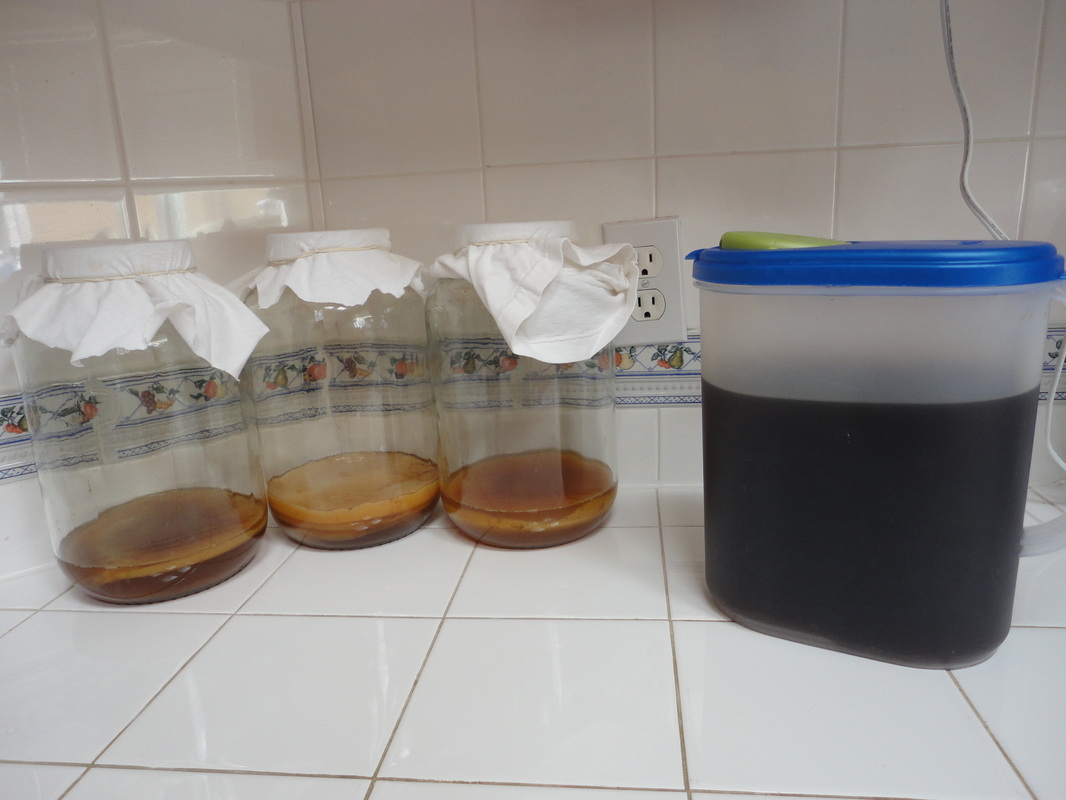
My Kombucha “starter” tea and scoby are already in the pickle jar when I start (see below * for those instructions)
My Kombucha “starter” tea and scoby are already in the pickle jar when I start (see below * for those instructions)
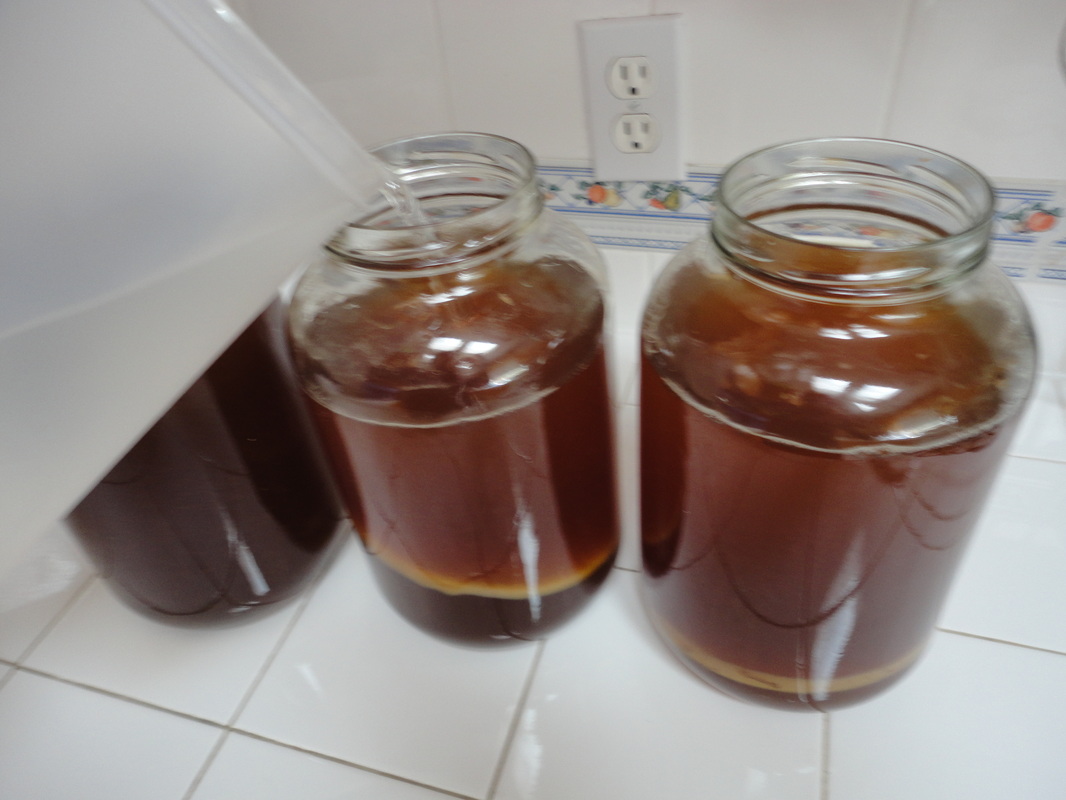
Pour tea/sugar water into pickle jar
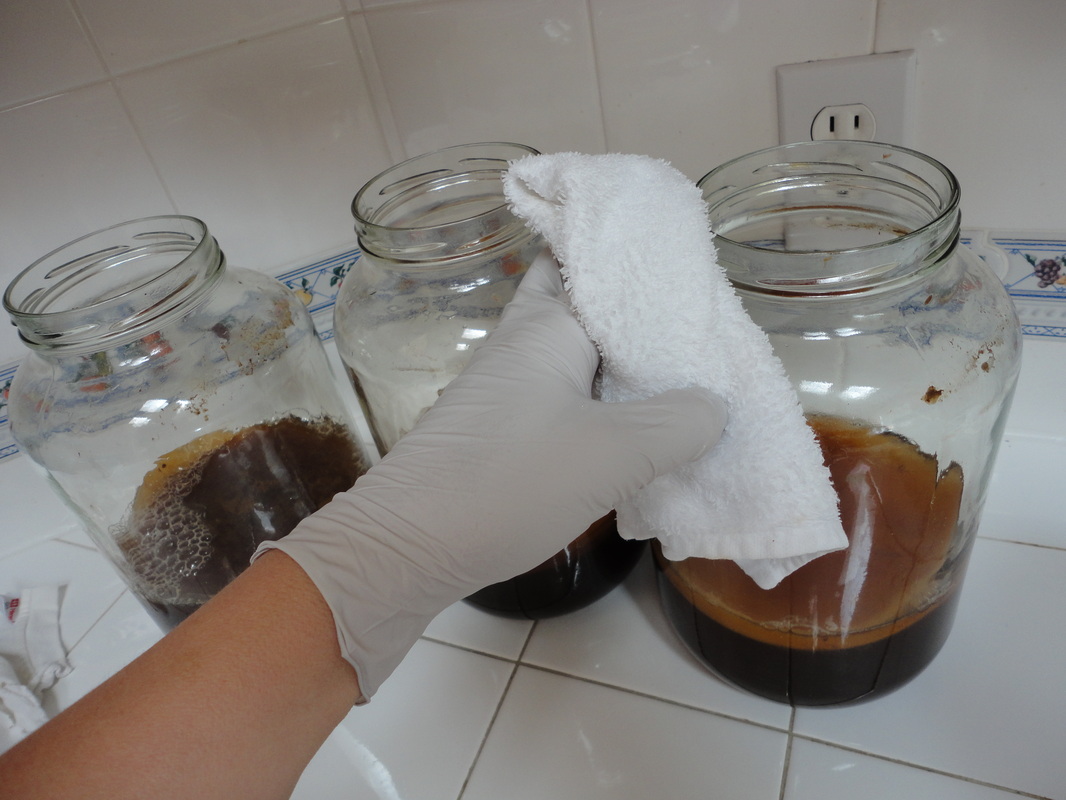
Clean outside of jar for any sticky stuff
Clean outside of jar for any sticky stuff
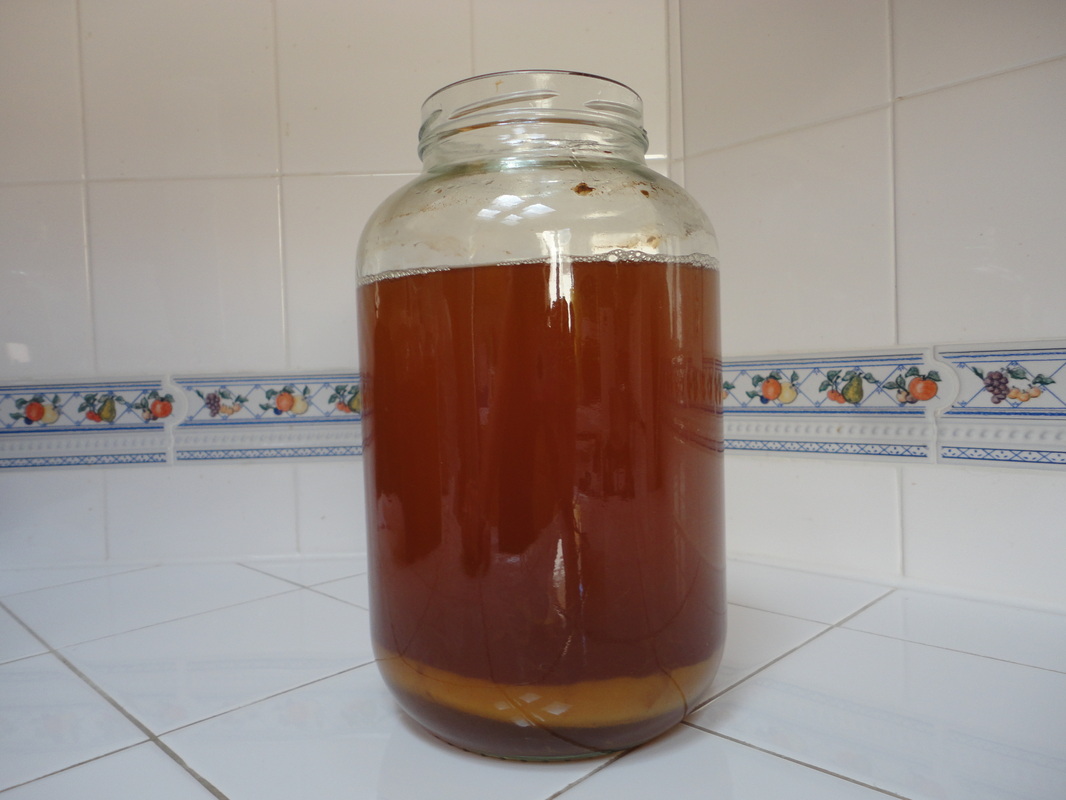
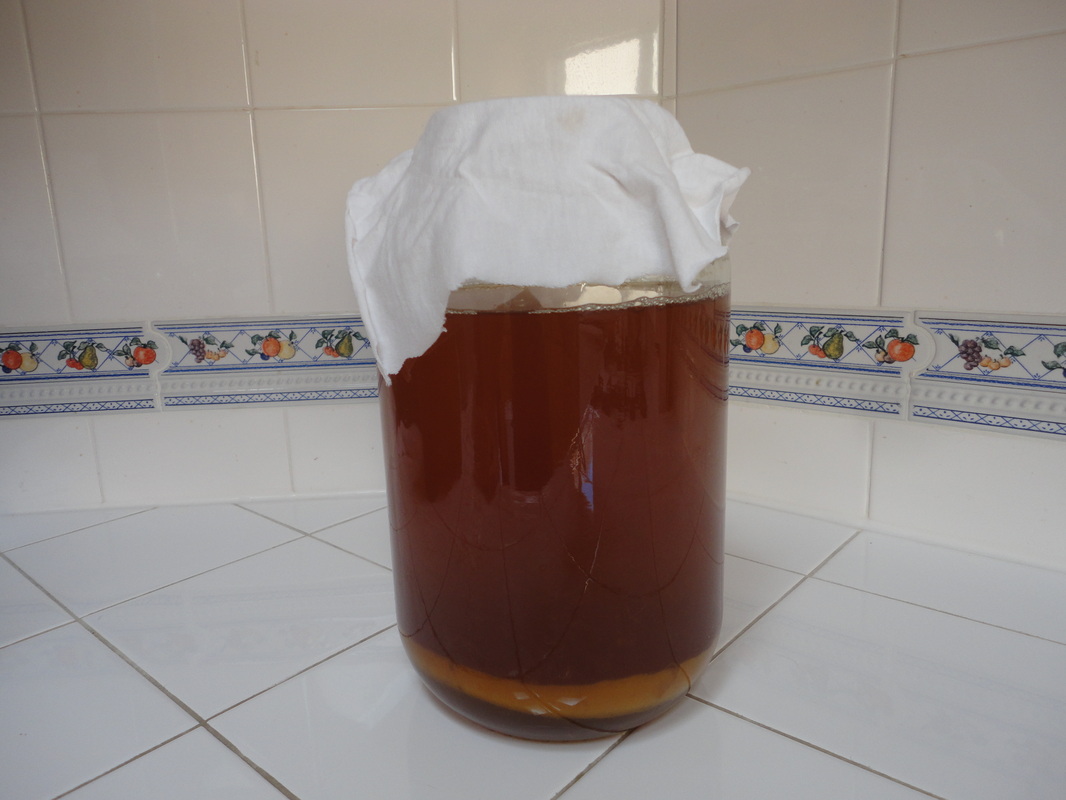
Fill with more good water to the top curve of jar (make room for scoby to lay flat and not be scrunching up in the neck of the jar. It needs to be touching the tea so it can brew correctly.)
Stir well, you want the tea/sugar to mix with the new Kombucha tea you just added
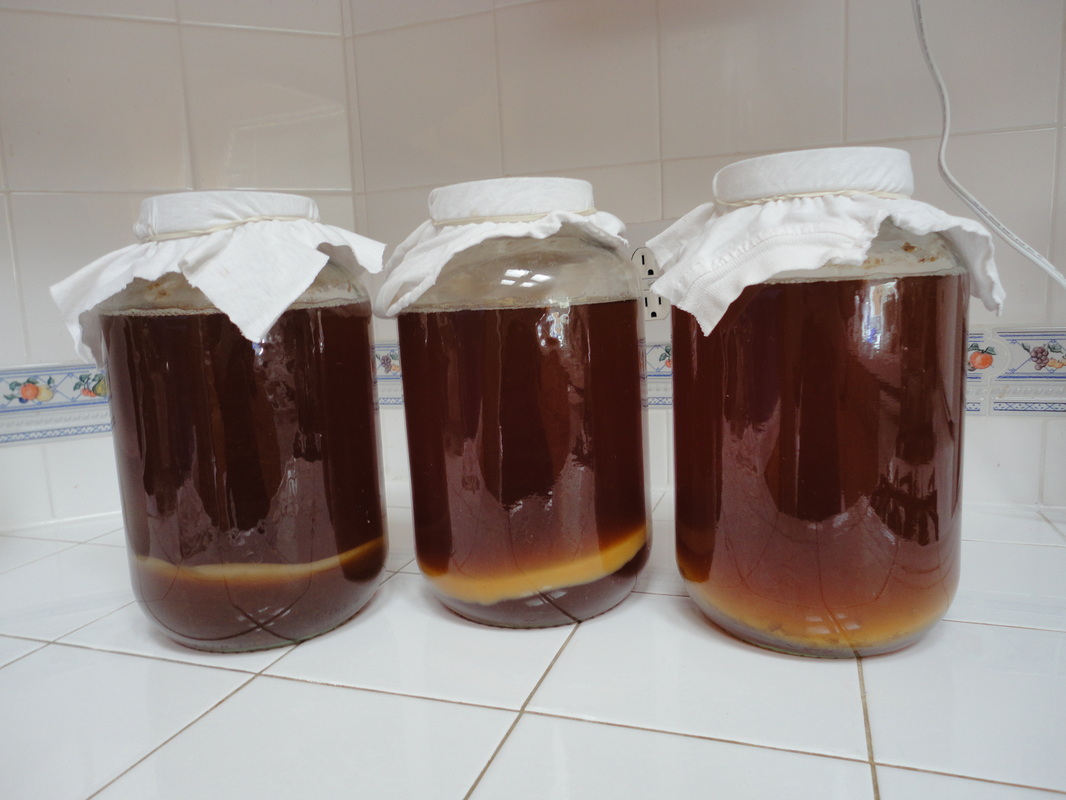
Scoby should float back up, but may decide to sit at the bottom of the jar (you can “help” it up, but don’t kill yourself, it will still do it’s thing at the bottom of the jar, a new baby will form at the top)
Clean outside of jar for any more sticky stuff if needed
Dry rim if needed
Scoby should float back up, but may decide to sit at the bottom of the jar (you can “help” it up, but don’t kill yourself, it will still do it’s thing at the bottom of the jar, a new baby will form at the top)
Clean outside of jar for any more sticky stuff if needed
Dry rim if needed
Cover the container quickly with cloth and secure it with a rubber band
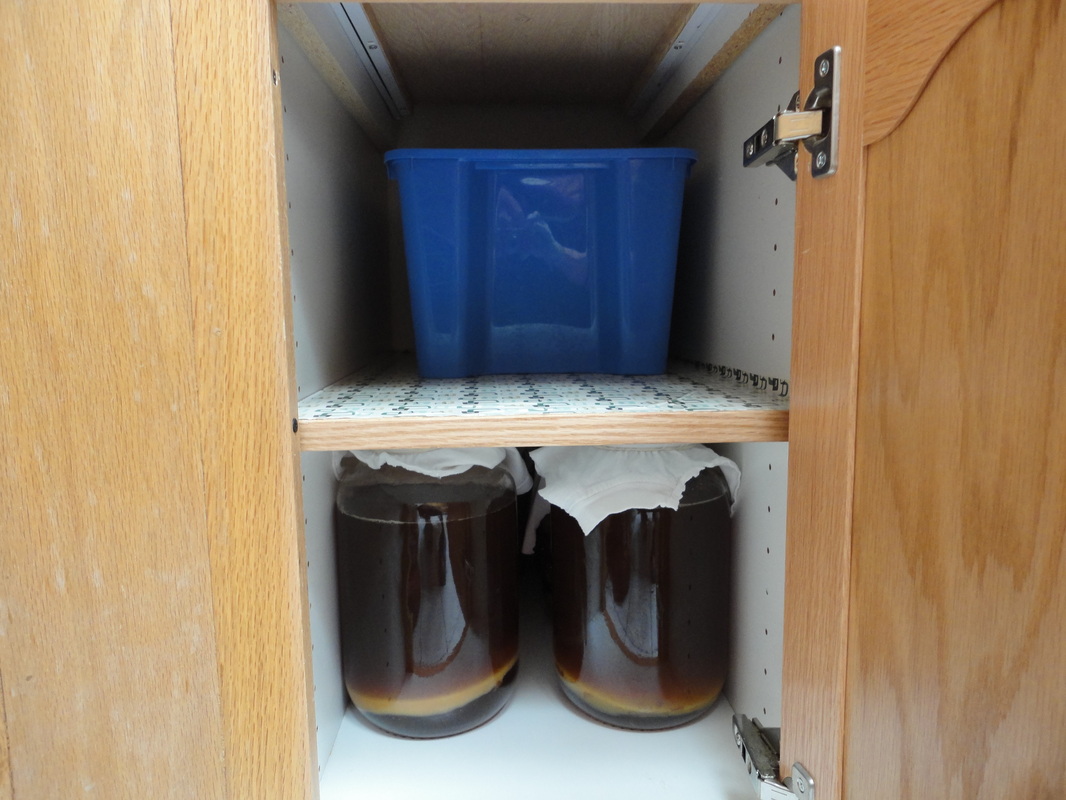
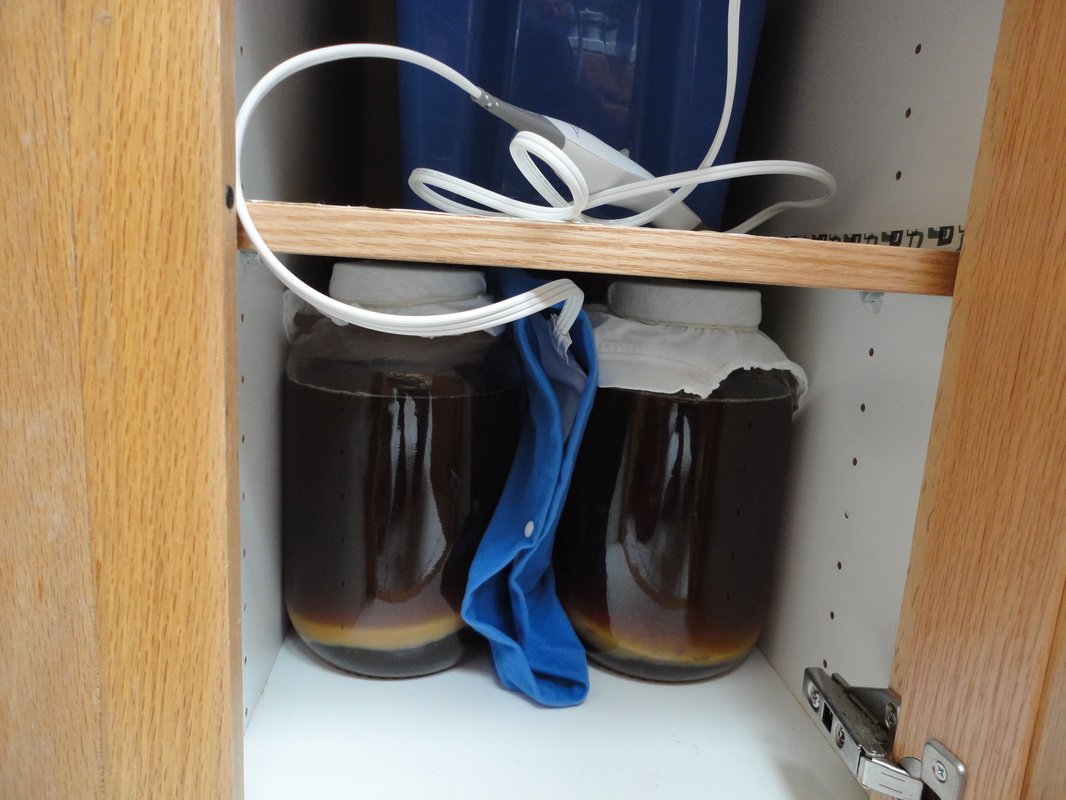
Place the container in a location where it will be warm, has some air flow, and remain undisturbed. I found under a desk or in a closet is best. I've also had it in the kitchen cupboard. Keep it away from dust, mold, and mildew as well as mothballs, cleaners and scented things. Light is not necessary, bright sunlight damages the culture. Try not to tip it, you don’t want to attract bugs (if you tip it accidentally, no biggie, you can use a new, dry cloth)
~ “Tobacco smoke is potentially lethal for the culture. Fat droplets released into the air from cooking are also detrimental.”
Depending on the temperature and desired result, allow to sit 7 to 10 days. Start with 7 days. You can feel this out (taste it) as you go. The longer it ferments the more vinegary it tastes. If you forget or are just too busy and it sits past 10 days you can still drink what you make. If it tastes too vinegary, just add a teaspoon of sugar and/or more fruit when you bottle it. If it really tastes too bad then start over! You can use some of the Kombucha you just made, even if it makes you wince!
* Starting from a clean empty jar
If you are starting fresh or finally washed your pickle jar after brewing many batches of Kombucha ~
- Add 12 oz. Kombucha tea from last batch to empty jar
- With clean hands, lay the Kombucha culture in jar
- Clean sticky stuff off jar
- Follow instructions above for the rest of the steps
** Shortcut!
Shortcut for those of you ON THE GO! ~
- After pouring 4 cups of water into the pot to heat, freeze the rest in a plastic pitcher. (I’ve done this successfully. By the time the tea steeps the rest of the water will be cold enough, or even icy, to continue without having to cool down the tea. Also, heating rather than boiling the water is a great help for this step.)
- You have to take the scoby and starter Kombucha tea out of the pickle jar for this shortcut though (take it out when the tea is done steeping, just put it in another stainless steel pot or pan or an empty clean spaghetti jar and clean the pickle jar so it’s not sticky)
- When the tea is done heating and steeping (20 minutes), pour about 4 cups or so of the “frozen” water into the jar
- Pour the hot sugar/tea into the jar
- Stir
- Test the temperature, it should be room temperature, not too hot (or it will hurt the scoby)
- Add more cold water if needed, not too much though, you need room for the Kombucha tea and scoby
- Pour the Kombucha starter in
- Stir well
- Pour in more of the cold water until you are close to the curve in the jar (leave room for the scoby to grow!)
- Follow instructions above for the rest of the steps
For Your Information ~
FYI – Most Kombucha web sites highly encourage using a wooden spoon to stir with and aggressively poo poo metal ones. Understandably, the metal ones are more prone to be made of toxic metal. Just don’t store the metal spoon in the tea/sugar water while it’s heating and cooling. Place it in the measuring cup, metal bowl or on a paper plate. Or, use the wood spoon. Whatever makes you happy! :O}
FYI – All the Kombucha “how to’s” I’ve seen instruct you to put the room temperature sugar/tea in the jar first then the Kombucha then the scoby. I’m all about saving time. I also REALLY hated cleaning up the sticky mess I made from taking the scoby out and putting it back in every time I brewed, so I pour the Kombucha in the jar into a pitcher and leave enough Kombucha at the bottom and the scoby for the next batch. Now I don’t have to “store” the scoby in anything until it’s ready to go back in the jar. It’s already in the jar. Saves a LOT of time!
FYI – If you put the Kombucha in a cupboard and your Kombucha doesn’t taste FABULOUS after several tries (after the 3 days with fruit and lid on small bottles) then it needs more air. You can still drink it. Next time, just put it in your clothes closet or under your desk. One lady puts it under her desk on a hot pad. You don’t have to use a hot pad. You can surround it with towels. That is what I used to do before I got the hot pad. Just make sure it is warm.
